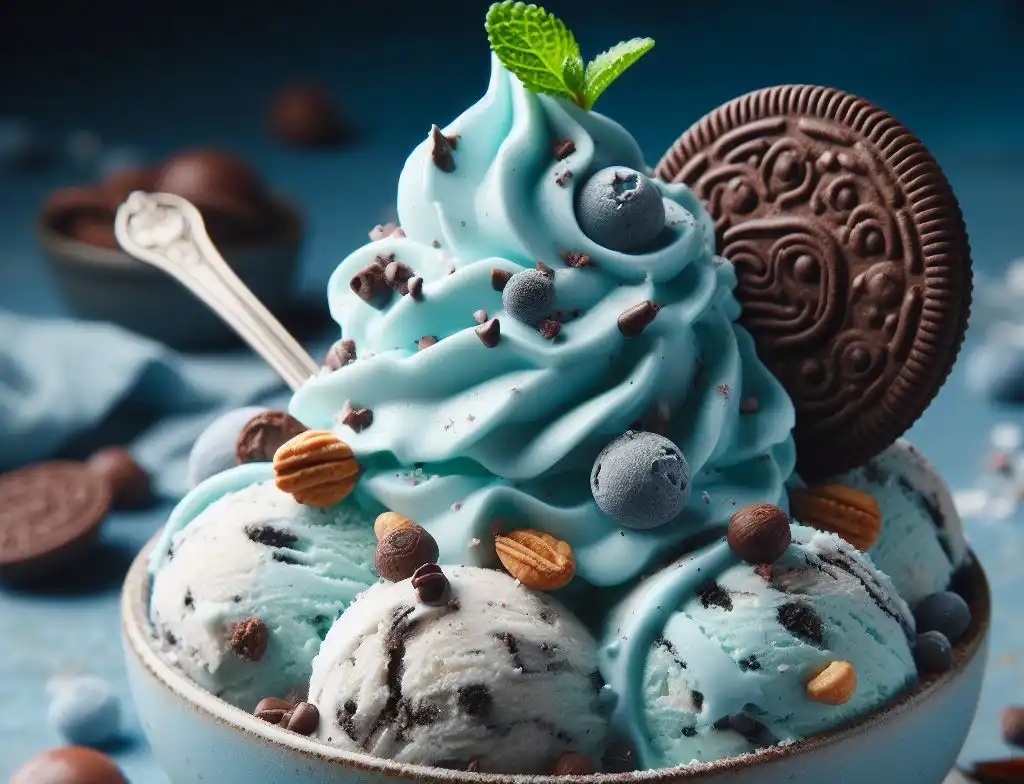
Ninja Creami Cookie Monster Ice Cream Recipe: A Delightful Fun-Filled Treat for All Ages
Indulge in a delicious and fun treat with the Ninja Creami Cookie Monster Ice Cream Recipe! This delightful recipe is perfect for all ages, whether you’re a kid or a kid at heart.
Not only is it a tasty treat, but the process of making it with the Ninja Creami is an exciting and easy experience.
Get ready to satisfy your cravings with this must-try recipe that will surely become a household favorite. Let’s dive into the world of Ninja Creami Cookie Monster Ice Cream!
Ninja Creami Cookie Monster Ice Cream Recipe: A Quick Overview
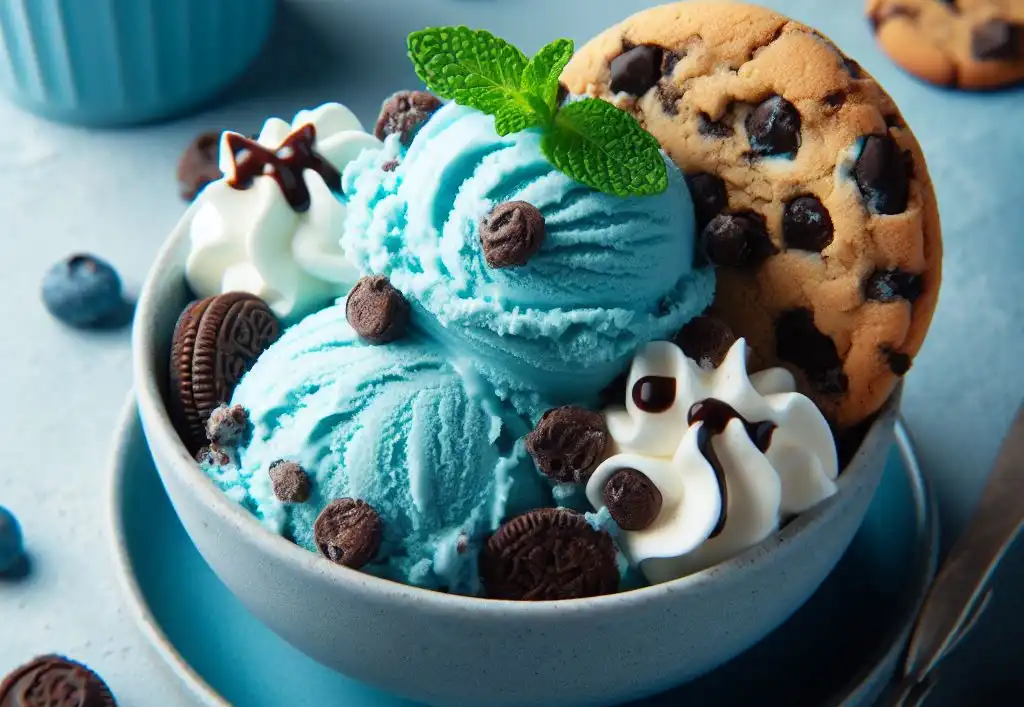
Recipe Description: This Ninja Creami Cookie Monster Ice Cream Recipe transforms your favourite childhood character into a deliciously creamy ice cream studded with chocolate chip cookies and a vibrant blue colour that mimics Cookie Monster himself. Perfect for kids’ parties or a nostalgic treat for adults, it’s an easy-to-make dessert that combines fun, flavor, and a touch of whimsy.
Preparation Time: 10 minutes
Cooking Time: 0 minutes (freeze time not included)
Total Time: Approximately 8 hours (including freezing time)
Type of Dish: Dessert
Cuisine of the Recipe: American
Quantity Produced: Serves 4 to 6
Number of Calories: Approximately 300 calories per serving
About Ninja Creami Cookie Monster Ice Cream Recipe

The Ninja Creami Cookie Monster Ice Cream Recipe is a vibrant and playful dessert option that creatively incorporates the beloved Sesame Street character’s theme into a homemade ice cream.
Utilizing the innovative technology of the Ninja Creami ice cream maker, this recipe offers a unique twist on traditional ice cream by blending in chunks of chocolate chip cookies and achieving a striking blue hue reminiscent of the Cookie Monster.
Designed for fans of all ages, it not only captures the essence of this iconic character in both appearance and taste but also introduces a fun and interactive way to enjoy making ice cream at home.
Why does Ninja Creami Cookie Monster Ice Cream Recipe Stand Out?

- Innovative Use of Equipment: Leveraging the Ninja Creami ice cream maker, this recipe transforms basic ingredients into a smooth, creamy delight with the push of a button. It’s a game-changer for homemade ice cream enthusiasts.
- Creative Theme: Inspired by the beloved Sesame Street character, this ice cream’s vibrant blue color and chocolate chip cookie pieces are a playful nod to Cookie Monster, making it a hit at any gathering, especially those with children.
- Ease and Accessibility: This recipe is accessible to chefs of all skill levels. It uses simple ingredients and straightforward instructions. The Ninja Creami does most of the work, making the process foolproof.
- Customizable: While the recipe provides a base, it encourages creativity. Cooks can adjust cookie amounts, experiment with mix-ins, or even play with the color to personalize the dessert to their liking.
- Fun Factor: The joy of making this ice cream isn’t just in the eating. The process of creating something so whimsical and visually appealing adds an element of fun to the kitchen, making it a perfect activity for families.
- Allergy-Friendly Options: The recipe can be easily adapted for those with dietary restrictions, such as using gluten-free cookies or dairy-free milk alternatives, ensuring everyone can enjoy this playful treat.
What are the ingredients in Ninja Creami Cookie Monster Ice Cream Recipe?

- 2 cups of heavy cream or full-fat coconut milk for a dairy-free option
- 1 cup of whole milk or a dairy-free milk alternative
- 3/4 cup granulated sugar
- 1 tablespoon vanilla extract
- Blue food coloring (gel or liquid) to achieve the desired Cookie Monster blue
- 1 cup chocolate chip cookies, roughly chopped (use gluten-free cookies if necessary)
- Extra chocolate chip cookies for garnish
- Optional: Mini chocolate chips for additional texture and flavor
Must-Have Equipment for Making Ninja Creami Cookie Monster Ice Cream Recipe

- Ninja Creami Ice Cream Maker: The star of the show, this innovative appliance will churn your mixture into creamy, smooth ice cream, embodying the essence of Cookie Monster with ease.
- Measuring Cups and Spoons: Accurate measurements of ingredients are key to achieving the perfect balance of flavors and the desired creamy texture.
- Mixing Bowls: For combining your ice cream base ingredients before churning. Having a set of various sizes is helpful.
- Whisk or Electric Mixer: To thoroughly combine the heavy cream, milk, sugar, and vanilla extract into a smooth base.
- Spatula: A flexible spatula is essential for scraping down the sides of bowls to ensure all ingredients are well incorporated.
- Freezer-Safe Container: After churning, you’ll need a container that can go into the freezer to firm up the ice cream to the perfect consistency.
- Food Coloring: Although not a piece of equipment, having quality blue food coloring (gel or liquid) is crucial for achieving that iconic Cookie Monster color.
Ninja Creami Cookie Monster Ice Cream Recipe: Step by Step Guide

Preparing the Ice Cream Base
- Combine the heavy cream (or full-fat coconut milk), whole milk (or dairy-free alternative), granulated sugar, and vanilla extract in a mixing bowl.
- Use a whisk or electric mixer to mix until the sugar is completely dissolved.
- Stir in blue food coloring, a little at a time, until you reach the desired Cookie Monster blue shade.
- Chill the mixture in the refrigerator for at least 2 hours, or until thoroughly cold.
Churning with the Ninja Creami
- Pour the chilled mixture into the Ninja Creami pint container.
- Place the pint container in the freezer and freeze solid, ideally overnight or at least 8 hours.
- Once frozen, insert the pint container into the Ninja Creami machine.
- Select the “Ice Cream” function and start the machine. Let it run until the cycle is complete.
Adding the Cookie Mix-Ins
- After the initial churning is complete, remove the ice cream from the Ninja Creami.
- Stir in the chopped chocolate chip cookies, distributing them evenly throughout the ice cream. For extra texture and flavor, add optional mini chocolate chips at this stage.
- If desired, run the “Mix-Ins” cycle on the Ninja Creami to ensure cookies are well incorporated.
- Transfer the ice cream to a freezer-safe container and freeze until it reaches your preferred consistency, usually about 2-4 hours.
Perfect Pairings for Ninja Creami Cookie Monster Ice Cream Recipe

- Chocolate Chip Cookies: While the recipe includes cookies, serving extra on the side for dipping or crumbling on top adds an enjoyable texture contrast and doubles down on the cookie delight.
- Warm Brownies: The gooey richness of a warm brownie paired with the cold, creamy texture of the ice cream creates a decadent treat, perfect for a cozy night in.
- Fresh Berries: The natural tartness of raspberries, strawberries, or blueberries can cut through the sweetness of the ice cream, providing a refreshing balance.
- Whipped Cream and Sprinkles: Adding a dollop of whipped cream and a sprinkle of colorful sprinkles can make this dessert even more festive, especially for children’s parties.
- Coffee or Espresso: For adults, pairing a scoop of the Cookie Monster ice cream with a strong coffee or espresso creates a delightful contrast and can help balance the sweetness.
- Chocolate or Caramel Sauce: Drizzling chocolate or caramel sauce over the ice cream adds an extra layer of flavor and richness that complements the cookie and vanilla base perfectly.
- Graham Crackers: Crushed graham crackers sprinkled over the ice cream can offer a subtle crunch and hint of cinnamon, enhancing the overall flavor profile.
Mastering Ninja Creami Cookie Monster Ice Cream Recipe: Insider Tips and Tricks

- Optimize Freezing Time: Ensure your ice cream base is thoroughly frozen before churning. A solid freeze results in a smoother texture. Aim for at least 8 hours in the freezer, though 24 hours is ideal for the best consistency.
- Room Temperature Ingredients: Before mixing, let your heavy cream and milk sit out briefly to reach room temperature. This helps the sugar dissolve more easily for a smoother base.
- Incremental Coloring: Add blue food coloring one drop at a time. It’s easier to add more than to adjust if you’ve added too much. Aim for a color slightly darker than your target, as freezing can lighten the appearance.
- Experiment with Cookie Sizes: Try varying the size of your cookie chunks. Smaller pieces offer a consistent texture throughout, while larger chunks can provide an occasional bite of extra flavor and fun.
- Layer for Effect: When adding your mix-ins, consider layering your ice cream and cookies in stages. This ensures that every scoop has a balanced mix of ice cream and cookie pieces.
- Re-churn if Necessary: If your ice cream doesn’t reach your desired consistency after the initial churn, don’t hesitate to run it through the Ninja Creami for a second cycle. This can help achieve a creamier texture.
- Pre-Chill Serving Dishes: For an extra cool serving experience, place your serving bowls or cones in the freezer for a few minutes before dishing out the ice cream. This helps keep the ice cream from melting too quickly as you serve it.
- Taste Test Your Base: Before freezing, taste your ice cream base. Adjusting the sweetness or vanilla flavor at this stage is easier and ensures the finished product meets your preferences.
What Nutritional Benefits does the Ninja Creami Cookie Monster Ice Cream Offer?
- Dairy Alternatives: Opting for full-fat coconut milk or dairy-free milk alternatives can provide a source of medium-chain triglycerides (MCTs) which are fats that may support metabolism.
- Lower Sugar Options: Reducing the granulated sugar or using alternative sweeteners can help lower the overall sugar content, making Ninja Creami Cookie Monster Ice Cream a slightly healthier option for those monitoring sugar intake.
- Protein Boost: The heavy cream and whole milk (or alternatives) used in the recipe contribute a moderate amount of protein, which is essential for muscle repair and growth.
- Gluten-Free Adaptability: By selecting gluten-free chocolate chip cookies, this recipe can be made suitable for those with gluten sensitivities or celiac disease, providing a dessert option that is both enjoyable and compliant with dietary restrictions.
- Homemade Advantage: Making Ninja Creami Cookie Monster Ice Cream at home allows for control over the ingredients, ensuring the use of whole, less processed options compared to many store-bought versions, potentially reducing the intake of artificial additives and preservatives.
How Can You Preserve Leftovers of Ninja Creami Cookie Monster Ice Cream?
- Airtight Container: Transfer any leftover ice cream into an airtight container. This minimizes exposure to air, which can cause freezer burn and crystallization.
- Press Plastic Wrap: Before sealing the container, press a piece of plastic wrap directly onto the surface of the ice cream. This extra barrier helps keep out air and prevents ice crystals from forming.
- Freezer Temperature: Ensure your freezer is set to 0°F (-18°C) or colder. Consistent, cold temperatures help preserve the texture and flavor of the ice cream.
- Short-Term Storage: For best results, enjoy leftover Ninja Creami Cookie Monster Ice Cream within 2 weeks. While it can be stored longer, fresher ice cream ensures the best taste and texture.
- Label and Date: Use a piece of masking tape or a freezer-safe label to note the date you made (or opened) the ice cream. This helps keep track of freshness and ensures you enjoy it at its peak quality.
Conclusion
The Ninja Creami Cookie Monster Ice Cream Recipe offers a delightful twist on traditional homemade ice cream, bringing together ease of preparation, customizable fun, and a touch of nostalgia.
Whether you’re seeking a creative activity for family time or aiming to impress guests at your next gathering, this Ninja Creami Cookie Monster Ice Cream promises to deliver not just a visually appealing treat but also a deliciously memorable experience.
Embark on this culinary adventure and let the vibrant hues and rich flavors of Cookie Monster ice cream enliven your dessert repertoire.
FAQs
Q: Can I make the Ninja Creami Cookie Monster Ice Cream without the Ninja Creami machine?
A: While the Ninja Creami machine is designed to give this recipe its uniquely smooth and creamy texture, you can attempt a no-churn version by freezing the blended mixture and stirring it occasionally as it freezes. However, the texture may differ from the original Creami version.
Q: How can I adjust the recipe to make Ninja Creami Cookie Monster Ice Cream vegan?
A: Easily substitute the dairy ingredients with plant-based alternatives like full-fat coconut milk and a dairy-free milk alternative. Also, ensure your chocolate chip cookies are vegan.
Q: Is it possible to reduce the sugar content without compromising the taste?
A: Yes, you can reduce the granulated sugar or use a sugar alternative. Keep in mind that this might slightly alter the texture and freezing properties of the ice cream.
Q: Can I use natural food coloring?
A: Absolutely! Natural blue food coloring derived from spirulina or other natural sources is a great alternative, though the color intensity may vary from synthetic dyes.
Q: How long can I store the Ninja Creami Cookie Monster Ice Cream in the freezer?
A: For optimal taste and texture, enjoy it within 2 weeks. Make sure to store it in an airtight container with a piece of plastic wrap pressed directly onto the surface of the ice cream to prevent ice crystals.

Hi, I’m Liza Jensen, your culinary companion here at Recipe by Liza. 🍳🥗Cooking has always been my passion—I find joy in every whisk, every sizzle, and every aromatic spice. As a home cook and recipe developer, I’ve explored flavors from around the world, creating dishes that warm hearts and tantalize taste buds.Join me on this flavorful journey! Let’s swap kitchen stories, share tips, and celebrate the magic of food together.

