Ninja Creami Chocolate Ice Cream Recipe: A Decadent And Heavenly Delight!
Indulge your sweet tooth with the perfect summer treat – Ninja Creami Chocolate Ice Cream! This creamy and rich dessert is sure to satisfy all your cravings.
Made with the help of the innovative Ninja Creami machine, this chocolate ice cream recipe is easy to make and will leave you wanting more.
So get ready to whip up the most delicious and irresistible Ninja Creami Chocolate Ice Cream recipe that will have everyone asking for seconds!
Ninja Creami Chocolate Ice Cream Recipe: A Quick Overview
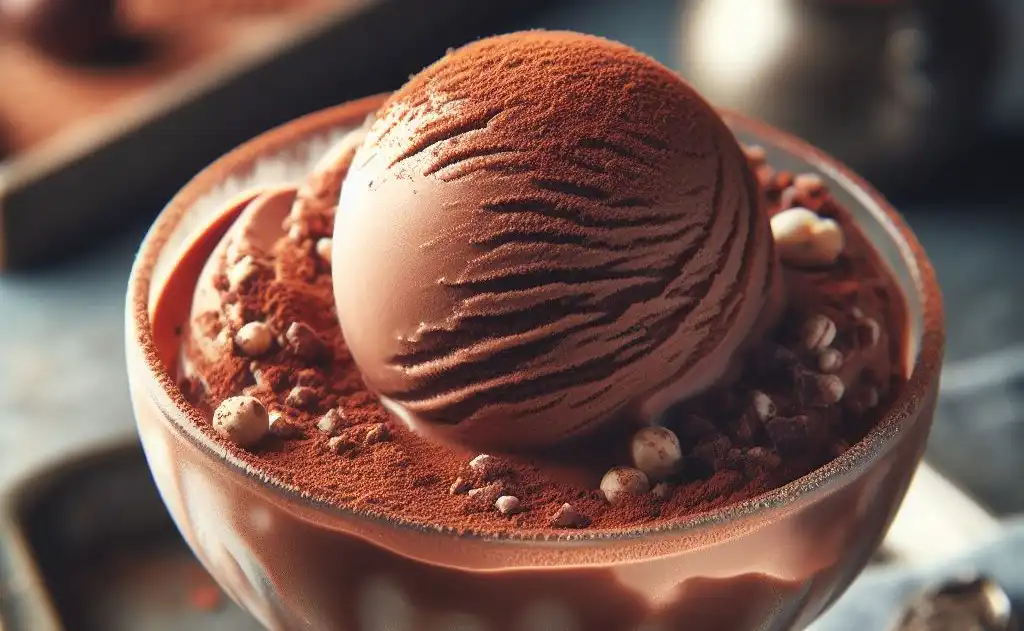
Recipe Description: A rich and creamy chocolate ice cream that is easy to make using the Ninja Creami machine.
Preparation Time: 10 minutes
Cooking Time: 0 minutes (freeze time is overnight)
Total Time: Approximately 8 hours including freezing time
Type of Dish: Dessert
Cuisine: American
Quantity Produced: Approximately 1 quart
Number of Calories: Approximately 200-250 calories per serving
About Ninja Creami Chocolate Ice Cream Recipe

The Ninja Creami Chocolate Ice Cream Recipe harnesses the unique technology of the Ninja Creami machine to turn basic ingredients into a sumptuously smooth and richly flavored ice cream.
Unlike traditional methods, this recipe involves an innovative process where the mixture is first frozen solid and then aerated by the machine, creating an exceptionally creamy texture without the need for professional equipment.
This approach not only simplifies making artisanal ice cream at home but also opens up endless possibilities for customization, making each batch of ice cream truly your own.
Why Does Ninja Creami Chocolate Ice Cream Recipe Stand Out?

- Innovative Use of Technology: By leveraging the Ninja Creami machine, this recipe employs state-of-the-art technology to aerate and blend the ingredients, ensuring a texture that rivals that of premium ice cream parlors.
- Simplicity and Convenience: Unlike conventional methods that often require an ice cream maker and continuous monitoring, this recipe offers a straightforward process. You simply prepare the mixture, freeze it, and let the Ninja Creami do the heavy lifting.
- Customization Opportunities: The Ninja Creami machine’s settings allow for customization at various stages, enabling you to achieve your preferred consistency, from soft serve to firm scoops. Plus, you can add mix-ins or toppings post-creamification for an extra layer of flavor and texture.
- Healthier Options: This recipe can be easily adapted to suit dietary needs or preferences, such as using alternative milks or sugar substitutes, making it a versatile option for those who are health-conscious or have dietary restrictions.
- Eco-Friendly: By making ice cream at home with the Ninja Creami, you reduce the need for store-bought options that often come in single-use plastics, contributing to a more sustainable lifestyle.
What Are the Ingredients in Ninja Creami Chocolate Ice Cream Recipe?

- 2 cups heavy cream
- 1 cup whole milk
- ¾ cup granulated sugar
- ½ cup unsweetened cocoa powder
- 1 teaspoon pure vanilla extract
- A pinch of salt
- Optional: Chocolate chips or chunks for mix-ins
Must-Have Equipment for Making Ninja Creami Chocolate Ice Cream Recipe
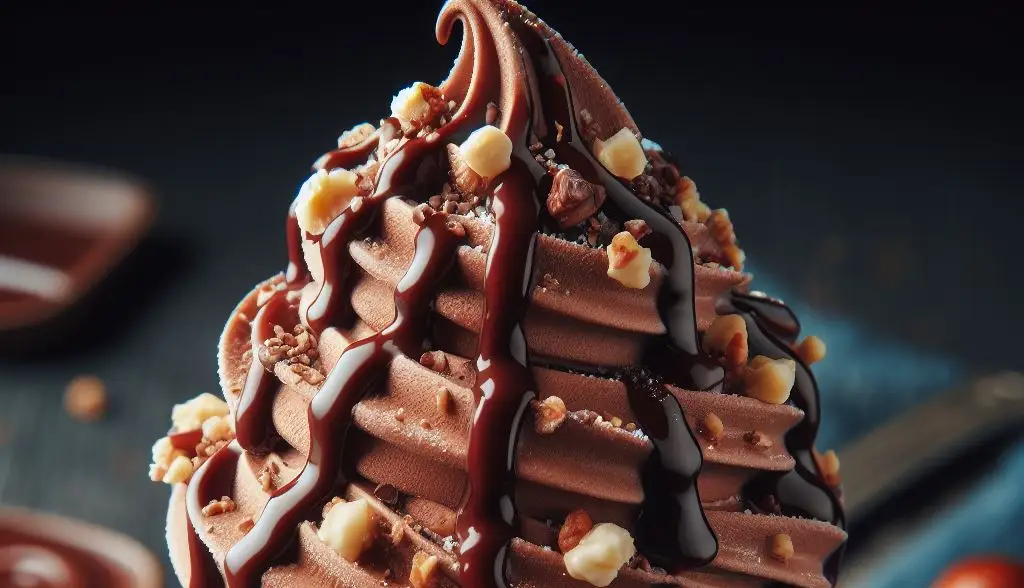
- Ninja Creami Ice Cream Maker: The star of the show, this machine is essential for transforming your ingredients into smooth, creamy ice cream.
- Measuring Cups and Spoons: Precision is key in dessert making, so having a full set of measuring cups and spoons on hand will ensure your ingredients are accurately portioned.
- Mixing Bowl: You’ll need a medium to large mixing bowl for combining your ingredients before they go into the Ninja Creami pint container.
- Whisk or Electric Mixer: To ensure the sugar, cocoa powder, and other ingredients are thoroughly mixed into the milk and cream, a whisk or an electric mixer is necessary for achieving a smooth, lump-free mixture.
- Spatula: A spatula will be useful for scraping down the sides of your mixing bowl to ensure all ingredients are well-incorporated and for transferring the mixture into the Ninja Creami pint container.
- Freezer-Safe Container: After processing in the Ninja Creami, you’ll need a freezer-safe container to store any leftover ice cream. Look for something with a tight-fitting lid to prevent freezer burn.
- Pint Containers for the Ninja Creami: Depending on how much ice cream you plan to make, having extra Ninja Creami pint containers can be very useful, allowing you to make multiple batches or flavors without waiting for one to be done.
Ninja Creami Chocolate Ice Cream Recipe: Step-by-Step Guide

Mix Ingredients
- In a medium to large mixing bowl, combine 2 cups of heavy cream and 1 cup of whole milk.
- Add ¾ cup of granulated sugar, ½ cup of unsweetened cocoa powder, and a pinch of salt to the liquid mixture.
- Pour in 1 teaspoon of pure vanilla extract.
- Use a whisk or an electric mixer to blend the ingredients until the sugar and cocoa powder are fully dissolved and the mixture is smooth.
- Pour the mixture into a Ninja Creami pint container.
- Secure the lid on the container, then place it in the freezer. Let it freeze solid, ideally overnight or for at least 8 hours.
Process in Ninja Creami
- Remove the frozen pint container from the freezer and place it into the Ninja Creami machine.
- Select the “Ice Cream” function on the machine and start the process. The machine will churn the frozen mixture, aerating it to create a creamy texture.
- Once the cycle is complete, check the consistency. If desired, run the “Re-spin” cycle for a smoother texture.
Serve or Store
- Serve immediately for a soft-serve texture. For a firmer consistency, transfer the ice cream to a freezer-safe container and freeze for an additional 1-2 hours.
- If there are leftovers, ensure they’re stored in a tightly sealed container to prevent freezer burn and maintain freshness.
Perfect Pairings for Ninja Creami Chocolate Ice Cream Recipe

- Warm Brownies: Serve your chocolate ice cream atop a freshly baked, warm brownie for a classic combo. The contrast between the warm brownie and the cold ice cream is a timeless delight.
- Fresh Berries: For a lighter touch, accompany your chocolate ice cream with a mix of fresh berries. Strawberries, raspberries, and blueberries can add a refreshing and slightly tart flavor that balances the richness of the chocolate.
- Espresso or Coffee: A small cup of strong espresso or freshly brewed coffee served alongside or even poured over the chocolate ice cream can intensify the chocolate flavors and add a sophisticated twist.
- Nutty Accompaniments: Chopped nuts such as almonds, walnuts, or pecans offer a delightful crunch and nutty flavor that pairs wonderfully with the creamy texture of the ice cream.
- Whipped Cream and Cherry: For a classic sundae experience, top your chocolate ice cream with a dollop of whipped cream and a cherry. This not only adds visual appeal but also layers of flavor.
- Chocolate Sauce and Flaky Sea Salt: Drizzle homemade or high-quality store-bought chocolate sauce over the ice cream and finish with a sprinkle of flaky sea salt for an irresistible sweet and salty combination.
Mastering Ninja Creami Chocolate Ice Cream Recipe: Insider Tips and Tricks

- Ensure Proper Freezing: For the best texture, make sure your base is completely frozen, ideally for at least 8 hours or overnight. A partially frozen base may not churn to the desired creamy consistency.
- Room-Temperature Ingredients: Before mixing, ensure all your ingredients are at room temperature. This will help the sugar and cocoa dissolve more easily, resulting in a smoother mixture.
- Sift Your Cocoa Powder: To avoid lumps in your ice cream, sift the cocoa powder before adding it. This ensures a uniform distribution of chocolate flavor throughout the ice cream.
- Experiment with Mix-Ins: After the ice cream has been processed, feel free to fold in your favorite mix-ins such as chocolate chips, nuts, or even swirls of peanut butter or caramel for added texture and flavor diversity.
- Utilize the Re-spin Function: If the texture isn’t to your liking after the initial churn, use the Ninja Creami’s re-spin function. This can help achieve a smoother, creamier texture.
- Clean Your Equipment: After each use, thoroughly clean your Ninja Creami machifavouriteint cont,ainers to prevent flavor transfer and maintain its longevity.
- Storage Matt,ers: To maintain the beflavourlity, store your ice cream in an airtight container, pressing a piece of plastic wrap directly onto the surface of the ice cream before sealing. This helps prevent ice crystals from forming.
What Nutritional Benefits Does the Ninja Creami Chocolate Ice Cream Offer?
- Dairy Contributions: The heavy cream and whole milk provide calcium and vitamin D, essential for bone health and immune function.
- Cocoa Power: Unsweetened cocoa powder is not just for flavor; it’s packed with antioxidants known as flavonoids, which can support heart health by improving blood flow and reducing blood pressure.
- Energy Source: This ice cream’s combination of fats, sugars, and proteins can quickly boost energy. The sugars offer immediate energy, while the fats and proteins help sustain it.
- Customizable for Health: You can customize the ice cream to meet specific dietary needs or health goals by altering the ingredients (e.g., using lower-fat milk options, sugar substitutes, or adding protein powders).
- Mood Enhancer: Chocolate stimulates the production of endorphins, the body’s natural mood lifters.
How Can You Preserve Leftovers of Ninja Creami Chocolate Ice Cream?
- Airtight Container: Use an airtight container specifically designed for ice cream if possible. This reduces the risk of ice crystal formation and flavor absorption from other foods in your freezer.
- Plastic Wrap Trick: Press a piece of plastic wrap directly onto the surface of the ice cream before sealing it with the container’s lid. This extra layer of protection helps keep air out, preventing freezer burn.
- Freezer Temperature: Keep your freezer at a consistent 0°F (-18°C) or lower. Fluctuating temperatures can cause the ice cream to soften and refreeze, leading to a grainy texture.
- Label and Date: Use a piece of masking tape or a sticker to label the container with the name and the date it was made. Homemade ice cream is best enjoyed within a month, as over time it can lose its creamy texture and rich flavor.
- Avoid Contamination: Always use a clean spoon or ice cream scoop when serving your Ninja Creami Chocolate Ice Cream. Reintroducing a used spoon can introduce bacteria that might affect the ice cream’s quality.
Conclusion
Diving into the world of homemade ice cream has never been easier or more delightful, thanks to the Ninja Creami Chocolate Ice Cream Recipe.
With its simple ingredients, easy steps, and the innovative Ninja Creami machine, you’re equipped to create a dessert that stands out in both taste and texture.
Happy churning, and enjoy the delicious rewards of your new favorite recipe!
FAQs
Can I use low-fat milk instead of whole milk in Ninja Creami Chocolate Ice Cream?
Yes, you can substitute low-fat milk for whole milk to make a lighter version. Keep in mind that the ice cream may have a slightly less creamy texture.
What if I don’t have a Ninja Creami machine to make Ninja Creami Chocolate Ice Cream?
This Ninja Creami Chocolate Ice Cream is designed for the Ninja Creami machine to achieve a unique texture. Without it, the results may significantly differ, and you might need to follow a traditional ice cream recipe suitable for your equipment.
Can I add mix-ins during the initial blending in Ninja Creami Chocolate Ice Cream?
For best results, add mix-ins like chocolate chips or nuts after the ice cream has been processed in the Ninja Creami during the “add mix-ins” stage. This ensures they are evenly distributed without interfering with the ramification process.
How long can I store the homemade Ninja Creami Chocolate Ice Cream?
Enjoy your Ninja Creami Chocolate Ice Cream within a month for optimal taste and texture. Store it in an airtight container with plastic wrap directly on the surface to minimize air exposure and prevent freezer burn.
Is this recipe gluten-free?
Yes, as long as the cocoa powder and vanilla extract you use are gluten-free, this recipe is suitable for those avoiding gluten.

Hi, I’m Liza Jensen, your culinary companion here at Recipe by Liza. 🍳🥗Cooking has always been my passion—I find joy in every whisk, every sizzle, and every aromatic spice. As a home cook and recipe developer, I’ve explored flavors from around the world, creating dishes that warm hearts and tantalize taste buds.Join me on this flavorful journey! Let’s swap kitchen stories, share tips, and celebrate the magic of food together.

