Homemade Cherry Pie Recipe: Sweet Delight
Homemade Cherry Pie is a classic dessert that’s both elegant and comforting, perfect for special occasions or cozy nights in.
With its flaky crust and sweet-tart filling, it’s a treat that’s sure to impress family and friends alike.
This recipe is a tried-and-true favorite, passed down through generations of bakers, and is now ready to be shared with you.
Homemade Cherry Pie Recipe: A Quick Overview

| Category | Description |
|---|---|
| Recipe Description | Classic homemade cherry pie recipe with a flaky crust and sweet-tart filling |
| Preparation Time | 30 minutes |
| Cooking Time | 45 minutes |
| Total Time | 1 hour 15 minutes |
| Type of Dish | Dessert |
| Cuisine | American |
| Quantity Produced | 1 pie (8-10 servings) |
| Number of Calories | 320 per serving |
About Homemade Cherry Pie Recipe

This homemade cherry pie recipe is a masterclass in simplicity, allowing the natural sweetness of the cherries to shine through in a rich, velvety filling.
The flaky, buttery crust is a perfect complement to the tartness of the cherries, creating a delightful harmony of flavors and textures in every bite.
With a few clever shortcuts and expert tips, this recipe makes it easy to achieve a professional-looking pie that’s sure to impress even the most discerning palates.
Whether you’re a seasoned baker or a beginner in the kitchen, this recipe is a must-try for anyone looking to create a truly unforgettable dessert experience.
Why does Homemade Cherry Pie Recipe Stand Out?
Flavor Profile
- The combination of sweet and tart cherries with a hint of almond extract creates a unique and complex flavor profile that’s hard to resist.
- The flaky crust adds a buttery and crispy texture that complements the juicy cherry filling perfectly.
Texture
- The homemade crust is flaky and crispy on the outside, while remaining tender and delicate on the inside.
- The cherry filling is bursting with juicy flavor and has a lovely texture that’s not too runny or too thick.
Aroma
- The aroma of freshly baked cherry pie wafting from the oven is irresistible and will fill your kitchen with a warm and inviting scent.
- The combination of sweet cherries, almond extract, and buttery crust creates a mouthwatering aroma that’s sure to tantalize your taste buds.
Customization
- You can customize the recipe to your taste by using different types of cherries, such as sweet or sour cherries, or adding a splash of liqueur like Kirsch or Grand Marnier.
- You can also experiment with different spices, like cinnamon or nutmeg, to add an extra layer of flavor to the filling.
Nostalgia
- Homemade cherry pie is a classic dessert that evokes memories of family gatherings, holidays, and special occasions.
- The process of making a homemade cherry pie from scratch can be a fun and rewarding experience that brings people together.
Presentation
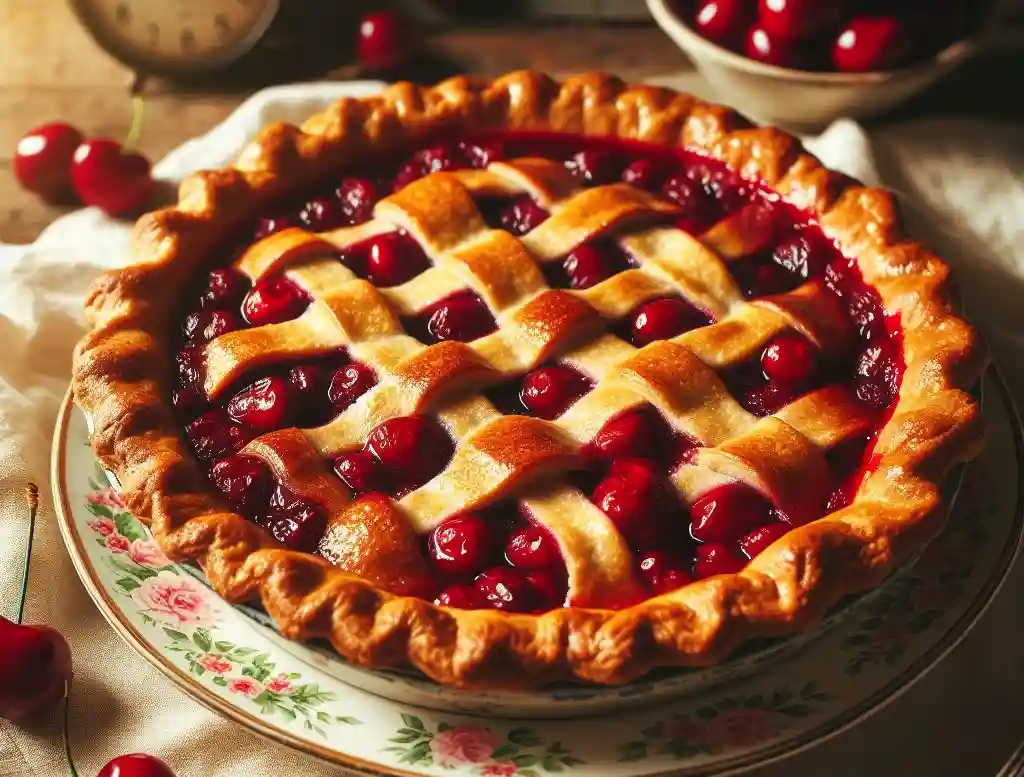
- A beautifully presented homemade cherry pie makes a stunning centerpiece for any dessert table or buffet.
- The golden-brown crust and vibrant red cherry filling create a visually appealing dessert that’s sure to impress your guests.
What are the ingredients in the Homemade Cherry Pie recipe?

For the Crust:
- 2 1/4 cups all-purpose flour
- 1 tsp salt
- 1 cup cold unsalted butter, cut into small cubes
- 1/4 cup ice-cold water
For the Filling:
- 2 cups fresh or frozen cherries, pitted
- 1/3 cup granulated sugar
- 2 tbsp cornstarch
- 1 tsp almond extract (optional)
Must-Have Equipment for Making Homemade Cherry Pie Recipe
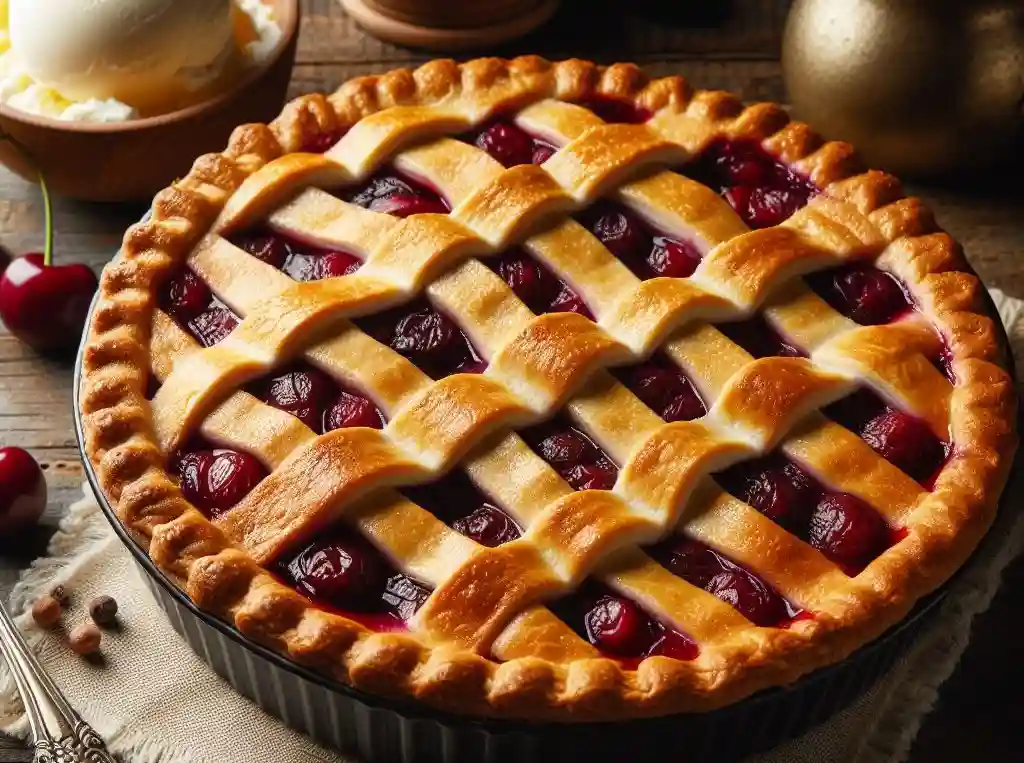
- 9-inch pie dish: A pie dish is essential for baking the pie. You can use a glass or ceramic pie dish.
- Mixing bowls: You’ll need a large mixing bowl to combine the dry ingredients for the crust and a separate bowl to mix the cherry filling.
- Pastry blender or food processor: A pastry blender or food processor is necessary for cutting the butter into the flour to make the crust.
- Rolling pin: A rolling pin is required to roll out the dough to the correct thickness for the crust.
- Measuring cups and spoons: Accurate measurements are crucial in baking, so you’ll need measuring cups and spoons to measure the ingredients.
- Whisk: A whisk is necessary for mixing the cherry filling and egg wash for the crust.
- Rubber spatula: A rubber spatula is handy for scraping the sides of the bowl and folding the dough.
- Oven: A reliable oven is necessary for baking the pie to perfection.
- Cooling rack: A cooling rack is necessary for cooling the pie after it’s baked.
- Pastry brush: A pastry brush is necessary for applying the egg wash to the crust.
Homemade Cherry Pie Recipe: step by step guide
Crust Preparation
To start, you’ll need to make the pie crust. You’ll need:
- 2 1/4 cups all-purpose flour
- 1 tsp salt
- 1 cup cold unsalted butter, cut into small cubes
- 1/4 cup ice-cold water
To prepare the crust:
- In a large mixing bowl, combine the flour and salt.
- Add the cubed butter and use a pastry blender or your fingers to work the butter into the flour until the mixture resembles coarse crumbs.
- Gradually add the ice-cold water, stirring with a fork until the dough comes together in a ball.
- Divide the dough in half, shape into disks, and wrap each in plastic wrap.
- Refrigerate for at least 30 minutes.
Filling Preparation
While the crust is chilling, let’s prepare the filling. You’ll need:
- 2 cups fresh or frozen cherries, pitted
- 1/3 cup granulated sugar
- 2 tbsp cornstarch
- 1 tsp almond extract (optional)
To prepare the filling:
- In a separate bowl, combine the cherries, sugar, cornstarch, and almond extract (if using).
- Mix until the cherries are evenly coated with the dry ingredients.
Assembly and Baking
- On a lightly floured surface, roll out one of the chilled dough disks to a thickness of about 1/8 inch.
- Place the dough into a 9-inch pie dish, trimming any excess crust from the edges.
- Fill the pie crust with the cherry filling, leaving a 1-inch border around the edges.
- Roll out the second dough disk to a thickness of about 1/8 inch.
- Use this dough to cover the pie, crimping the edges to seal the filling inside.
- Cut a few slits in the top crust to allow steam to escape.
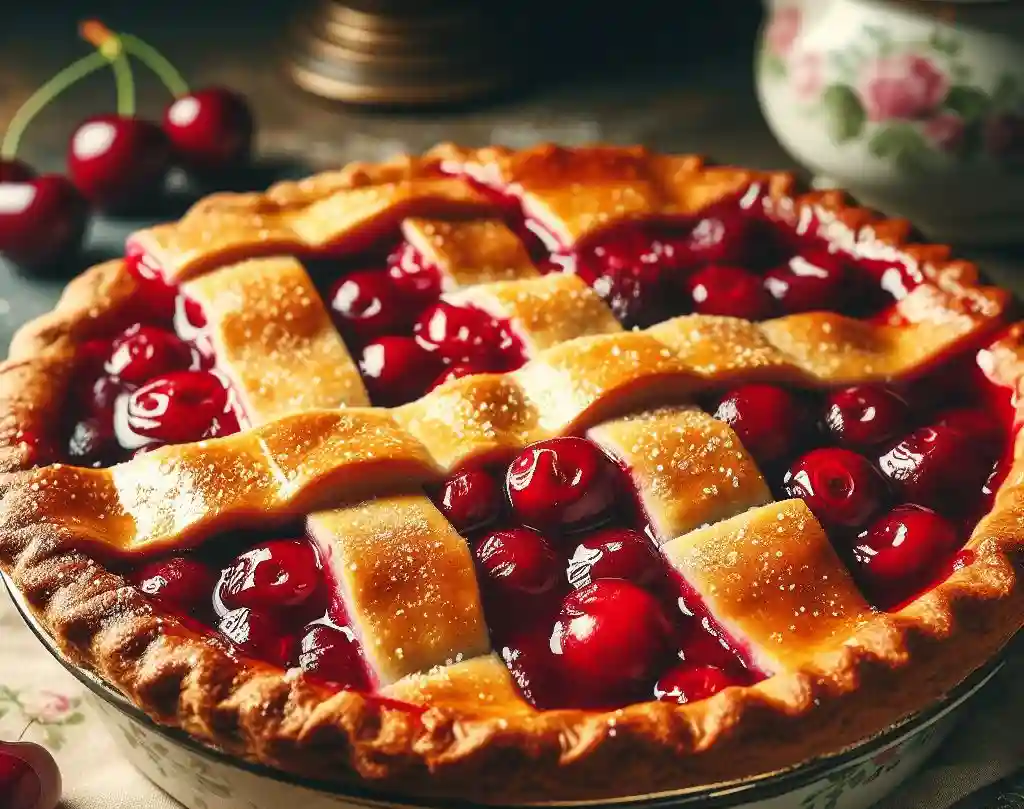
- Brush the top crust with a beaten egg and sprinkle with sugar.
- Bake the pie for 45-50 minutes, or until the crust is golden brown and the filling is bubbly.
- Let the pie cool on a wire rack for at least 30 minutes before serving. Enjoy!
Perfect Pairings for Homemade Cherry Pie Recipe

Beverages:
- Coffee: A warm cup of coffee complements the sweetness of the cherry pie perfectly.
- Tea: A soothing cup of tea, such as Earl Grey or English Breakfast, pairs nicely with the tartness of the cherries.
- Vanilla Ice Cream: A scoop of creamy vanilla ice cream adds a nice contrast in texture and flavor to the warm pie.
Dessert Wines:
- Moscato: The sweetness of Moscato wine pairs nicely with the tartness of the cherries.
- Riesling: A dry Riesling wine complements the sweetness of the pie crust and the tartness of the cherries.
- Port Wine: A sweet Port wine pairs nicely with the richness of the pie crust and the sweetness of the cherries.
Fresh Fruits:
- Whipped Cream and Fresh Berries: A dollop of whipped cream and some fresh berries, such as strawberries or blueberries, add a nice freshness to the richness of the pie.
- Sliced Peaches: A slice of fresh peach adds a nice sweetness and texture contrast to the tartness of the cherries.
Other Pairings:
- Caramel Sauce: A drizzle of caramel sauce adds a nice sweetness and depth of flavor to the pie.
- Chopped Nuts: A sprinkle of chopped nuts, such as almonds or walnuts, adds a nice crunch and flavor contrast to the pie.
Mastering Homemade Cherry Pie Recipe: Insider Tips and Tricks
Crust Mastery:
- Use cold ingredients: Cold butter and ice-cold water are essential for creating a flaky crust.
- Don’t overmix: Mix the dough just until the ingredients come together, then stop. Overmixing can lead to a tough crust.
- Rest the dough: Let the dough rest for at least 30 minutes to allow the gluten to relax, making the dough easier to roll out.
Filling Finesse:
- Use fresh cherries: Fresh cherries will give your pie a brighter flavor and texture than frozen or canned cherries.
- Don’t overfill: Leave a 1-inch border around the edges of the crust to prevent filling from spilling over during baking.
- Use the right sugar: Granulated sugar is best for cherry pie, as it dissolves easily and doesn’t leave a grainy texture.
Baking Brilliance:
- Blind baking: Blind baking the crust (baking it without the filling) can help prevent the crust from becoming soggy.
- Use a pie shield: A pie shield can help prevent the crust from burning and promote even browning.
- Don’t overbake: Cherry pie is best when the crust is golden brown and the filling is bubbly, but not overcooked.
Presentation Perfection:
- Brush with egg wash: Brushing the crust with an egg wash can give the pie a golden brown color and add shine.
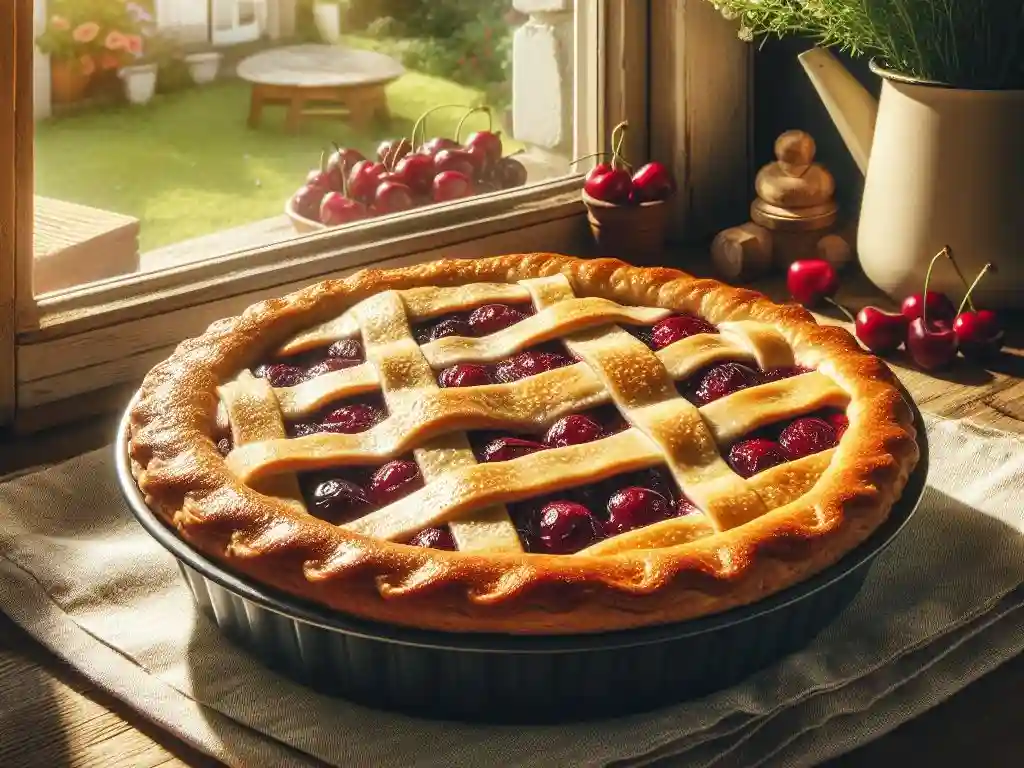
- Add a lattice top: A lattice top crust can add a decorative touch to the pie and make it more visually appealing.
- Garnish with fresh fruit: A sprinkle of fresh cherries or a dollop of whipped cream can add a pop of color and freshness to the pie.
Troubleshooting Tips:
- Soggy crust: If the crust is soggy, try baking the pie for a shorter time or using a pie shield to prevent burning.
- Runny filling: If the filling is too runny, try cooking the filling on the stovetop before adding it to the pie crust.
- Overbaked crust: If the crust is overbaked, try covering the edges with foil to prevent further browning.
What nutritional benefits do the Homemade Cherry Pie Offer?
Antioxidant-Rich Cherries:
- High in antioxidants, which help protect the body against free radicals and oxidative stress
- Rich in anthocyanins, which have been shown to have anti-inflammatory properties
Whole Grain Crust:
- Made with whole wheat flour, which provides:
- Fiber: supports healthy digestion and satiety
- B Vitamins: essential for energy metabolism and nerve function
- Minerals: such as selenium, manganese, and copper, which support immune function and overall health
Healthy Fats:
- Unsalted butter provides:
- Vitamin D: essential for bone health and immune function
- Conjugated Linoleic Acid (CLA): may help with weight management and immune function
Other Nutrients:
- Eggs: provide protein, vitamin D, and choline, which support brain function and metabolism
- Sugar: provides energy for the body
- Almond extract: contains vitamin E, which supports skin health and immune function
Potential Health Benefits:
- May help reduce inflammation and oxidative stress due to the antioxidant properties of cherries
- May support heart health due to the fiber, potassium, and antioxidants in the whole grain crust and cherries
- May support immune function and overall health due to the vitamins, minerals, and antioxidants in the pie
How can you preserve leftovers of Homemade Cherry Pie?
Room Temperature:
- Store the pie at room temperature for up to 2 days
- Keep the pie away from direct sunlight and heat sources
Refrigeration:
- Store the pie in the refrigerator for up to 5 days
- Cover the pie with plastic wrap or aluminum foil to prevent drying out
Freezing:
- Wrap the pie tightly in plastic wrap or aluminum foil and place in a freezer-safe bag
- Store the pie in the freezer for up to 3 months
- When ready to serve, thaw the pie overnight in the refrigerator or at room temperature for a few hours
Reheating:
- Reheat the pie in the oven at 350°F (180°C) for 10-15 minutes, or until warmed through
- Reheat the pie in the microwave for 20-30 seconds, or until warmed through
Other Tips:
- Consider freezing individual slices of pie for easy reheating and serving
- Use an airtight container to store the pie to prevent drying out
- Label and date the stored pie so you can easily keep track of how long it’s been stored
Conclusion
With this homemade cherry pie recipe, you’ll be well on your way to creating a dessert that’s sure to become a family heirloom.
Whether you’re serving it at a summer barbecue, a holiday gathering, or just a cozy night in, this pie is sure to bring people together and create memories that will last a lifetime.
So go ahead, get baking, and experience the joy of sharing a delicious homemade cherry pie with the people you love.
With its perfect balance of sweet and tart, this pie is sure to become a new favorite – and with this recipe, you’ll be able to make it again and again, whenever the mood strikes.
FAQs
Q: Can I use frozen cherries for this recipe?
A: Yes, you can use frozen cherries for this recipe. Just thaw them first and pat them dry with a paper towel to remove excess moisture.
Q: How do I prevent my pie crust from becoming too soggy?
A: To prevent a soggy crust, make sure to chill your pie crust in the refrigerator for at least 30 minutes before baking. You can also try brushing the crust with a little bit of egg wash or water to help it brown more evenly.
Q: Can I make this pie ahead of time?
A: Yes, you can make the pie crust and filling ahead of time, but it’s best to assemble and bake the pie just before serving. You can also freeze the pie for up to 2 months and thaw it in the refrigerator or at room temperature when you’re ready to serve.
Q: What’s the best way to store leftover pie?
A: Store leftover pie in an airtight container in the refrigerator for up to 3 days. You can also freeze it for up to 2 months and thaw it in the refrigerator or at room temperature when you’re ready to serve.
Q: Can I use a pre-made pie crust for this recipe?
A: Yes, you can use a pre-made pie crust for this recipe, but keep in mind that the flavor and texture may not be the same as a homemade crust. Just follow the package instructions for thawing and baking the crust.
Q: How do I know when the pie is done baking?
A: The pie is done when the crust is golden brown and the filling is bubbly and slightly thickened. You can also check the internal temperature of the filling, which should be at least 190°F (88°C).

Hi, I’m Liza Jensen, your culinary companion here at Recipe by Liza. 🍳🥗Cooking has always been my passion—I find joy in every whisk, every sizzle, and every aromatic spice. As a home cook and recipe developer, I’ve explored flavors from around the world, creating dishes that warm hearts and tantalize taste buds.Join me on this flavorful journey! Let’s swap kitchen stories, share tips, and celebrate the magic of food together.


