Easy Halloween Oreo Cake Bars Recipe: A Scrumptious And Perfect Treat
Easy Halloween Oreo Cake Bars: Looking for a fun and delicious treat to make this Halloween? Look no further than Easy Halloween Oreo Cake Bars!
With a simple and easy-to-follow recipe, these cake bars are great for both experienced bakers and beginners alike.
So gather your ingredients and get ready to sink your teeth into these delicious and festive treats!
Easy Halloween Oreo Cake Bars Recipe: A Quick Overview

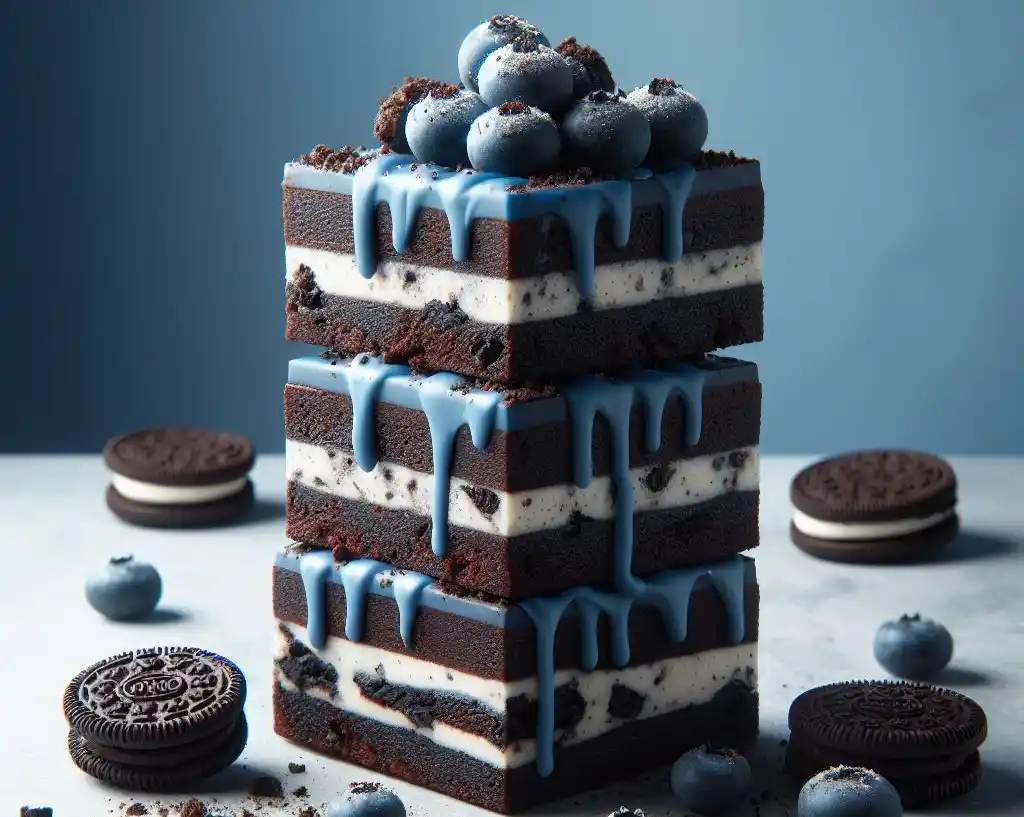
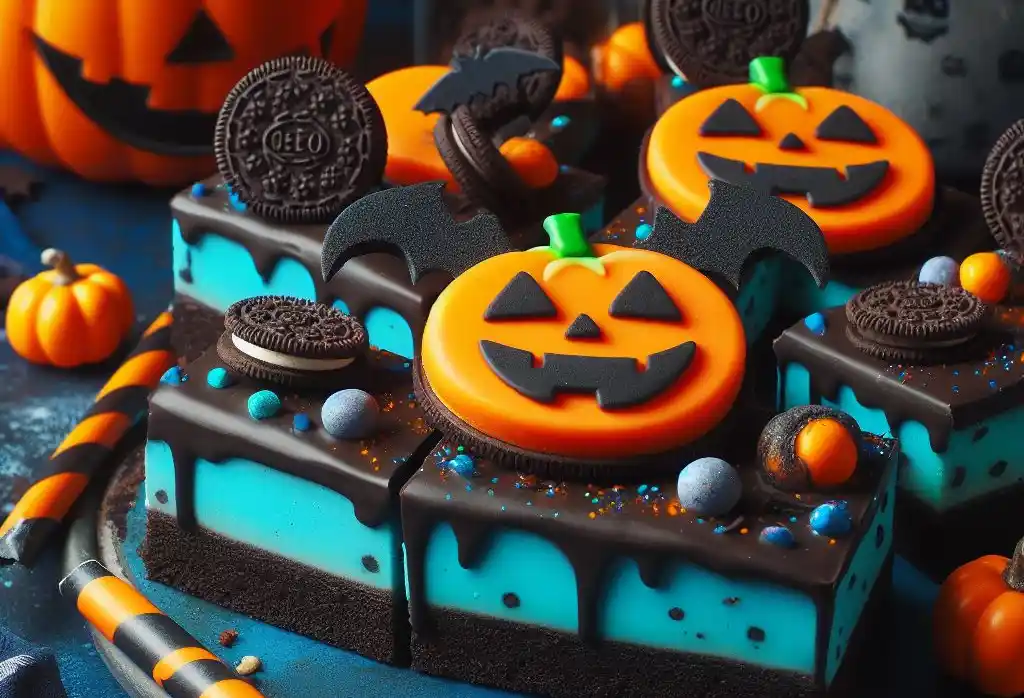
Recipe Description: A delightful fusion of crunchy Oreo pieces and soft, moist cake bar, adorned with Halloween-themed sprinkles or candies. Ideal for a festive treat that combines ease of preparation with delicious results.
Preparation Time: 15 minutes
Cooking Time: 25 minutes
Total Time: 40 minutes
Type of Dish: Dessert
Cuisine: American
Quantity Produced: Approximately 24 bars
Number of Calories: Estimated 150-200 calories per bar
About Easy Halloween Oreo Cake Bars Recipe

The Easy Halloween Oreo Cake Bars recipe is a festive treat that brings together the rich, creamy texture of Oreos with the soft, moist crumble of cake bars.
This recipe combines simple ingredients to create a Halloween-themed dessert that’s not only visually appealing but also incredibly indulgent.
It’s designed for anyone who loves the iconic flavor of Oreos and wants to add a spooky twist to their Halloween treats.
Whether you’re hosting a party or just looking for a fun baking project with the kids, these Oreo cake bars are sure to be a hit.
Why does Easy Halloween Oreo Cake Bars Recipe Stand Out?

- Uniquely Festive: These cake bars incorporate Halloween’s signature colors and themes, making them not just a treat, but a part of the decor.
- Versatile Oreo Flavor: The ability to use different Oreo flavors, such as Pumpkin Spice or Golden Oreos, allows for customization and adds a unique twist to each batch.
- Beginner-Friendly: With simple ingredients and clear instructions, this recipe is accessible to bakers of all skill levels, ensuring anyone can bring a bit of Halloween magic to their kitchen.
- Perfect for Parties: These cake bars are not only easy to make in large quantities but are also a hit at any Halloween gathering, offering a delightful surprise for guests.
- Customizable Decoration: Offers the opportunity for creative decoration, enabling bakers to add personalized spooky touches with icing, sprinkles, or themed toppings.
- Comforting Texture: The combination of crunchy Oreos and soft cake provides a satisfyingly rich texture that’s a crowd-pleaser, marrying the best of both worlds in one bite.
- Makes for a Great Gift: Beautifully packaged, these cake bars can be a thoughtful and homemade Halloween treat for friends, family, or coworkers, spreading the joy of the season.
What are the ingredients in Easy Halloween Oreo Cake Bars Recipe?

- White cake mix: 1 box (any brand)
- Eggs: 3 large
- Vegetable oil: 1/2 cup
- Oreo cookies: Approximately 24, chopped
- Halloween-themed sprinkles or candies: For mixing into batter and decoration
- Powdered sugar: 1 cup (if making frosting)
- Cream cheese: 4 ounces, softened (if making frosting)
Must-Have Equipment for Making Easy Halloween Oreo Cake Bars Recipe

- 9×13 inch baking pan: This size is ideal for achieving the perfect thickness and texture of the cake bars.
- Parchment paper or non-stick baking spray: To prevent the cake bars from sticking to the pan, ensuring easy removal and clean cuts.
- Large mixing bowl: Needed for combining the cake mix, Oreos, and other ingredients thoroughly.
- Electric mixer or whisk: An electric mixer will save time and effort when mixing the batter, but a good whisk can also do the job.
- Rubber spatula: Essential for scraping the sides of the bowl and ensuring all ingredients are well incorporated.
- Measuring cups and spoons: Accuracy is key in baking, so having a full set of measuring tools is crucial for measuring ingredients.
- Cooling rack: Allows the cake bars to cool evenly and prevents them from becoming soggy.
- Sharp knife: A sharp knife is necessary for cutting the bars into neat, even squares.
- Optional: Offset spatula or butter knife for spreading any optional frosting evenly over the cooled cake bars. Having these tools ready before you start baking will make the process of creating
Easy Halloween Oreo Cake Bars Recipe: Step by Step Guide

Preparing Your Ingredients and Equipment
- Preheat your oven to 350°F (175°C) and line a 9×13 inch baking pan with parchment paper or spray with non-stick baking spray.
- Roughly chop the Oreo cookies into chunky pieces, setting aside some for topping if desired.
- Measure out all other ingredients as listed in the recipe section above to ensure a smooth baking process.
Mixing the Batter
- In a large mixing bowl, combine the white cake mix, vegetable oil, and eggs using an electric mixer or whisk until well blended.
- Fold in the chopped Oreo pieces and half of the Halloween-themed sprinkles or candy pieces with a rubber spatula, ensuring they’re evenly distributed throughout the batter.
- Pour the batter into the prepared baking pan, using the spatula to spread it out evenly.
Baking and Decorating
- Bake in the preheated oven for 25 minutes or until a toothpick inserted into the center comes out clean. Remember, oven times may vary, so start checking a few minutes before.
- Once baked, remove from the oven and let cool completely in the pan on a cooling rack.
- If using, mix the powdered sugar and softened cream cheese together until smooth and spread over the cooled cake bars. Sprinkle the remaining Halloween-themed sprinkles or candy pieces and the reserved Oreo pieces on top for decoration.
Perfect Pairings for Easy Halloween Oreo Cake Bars Recipe

- Warm Spiced Cider: The cozy flavors of cinnamon and apple in spiced cider complement the rich chocolatey taste of the Oreo cake bars, offering a comforting fall beverage option.
- Pumpkin Spice Latte: For a quintessential autumn treat, enjoy your Oreo cake bars with a homemade or café-bought pumpkin spice latte. The pumpkin spice flavors meld beautifully with the chocolate and cream of the Oreos.
- Vanilla Ice Cream: A scoop of vanilla ice cream on the side of your Oreo cake bar adds a creamy texture and a cooling contrast to the dense, sweet treat, making it an ideal pairing for a dessert course.
- Cold Milk: Sometimes, keeping it simple is best. A cold glass of milk alongside these cake bars can cleanse the palate and enhance the chocolate and cream flavors of the Oreos.
- Coffee: For an adult twist, a strong cup of black coffee can cut through the sweetness of the cake bars, providing a balance that is sure to please any coffee lover.
- Chocolate Stout: If you’re feeling adventurous, pair your Easy Halloween Oreo Cake Bars with a chocolate stout beer. The richness of the stout complements the chocolate in the Oreos, creating a decadent pairing experience.
Mastering Easy Halloween Oreo Cake Bars Recipe: Insider Tips and Tricks

- Room Temperature Ingredients: Ensure that your eggs and any optional cream cheese are at room temperature before mixing. This helps to achieve a smoother batter and a more evenly baked cake bar.
- Chunky Oreo Pieces: When crushing your Oreos, aim for a mix of fine and chunky pieces. The variety in texture adds an interesting crunch to the cake bars and enhances the Oreo flavor throughout.
- Even Spreading: Use a rubber spatula to spread the batter evenly in the pan. An uneven batter can lead to inconsistent baking and texture.
- Baking Time Adjustments: Oven temperatures can vary, so start checking your cake bars a few minutes before the recommended baking time ends. A toothpick inserted into the center should come out clean, but avoid overbaking to keep them moist.
- Cool Completely Before Cutting: Letting the cake bars cool completely in the pan makes them much easier to cut into clean squares. If you’re in a hurry, placing the pan in the fridge for a short while can speed up the process.
- Customizing Your Toppings: Get creative with toppings! Halloween-themed candies, additional Oreo pieces, or a drizzle of melted chocolate can add extra flair and flavor to your cake bars.
- Storage for Freshness: If you’re not serving the cake bars immediately, store them in an airtight container at room temperature to keep them moist and fresh.
What Nutritional Benefits does the Easy Halloween Oreo Cake Bars Offer?

- Eggs: A great source of high-quality protein and contain various essential nutrients, including vitamin B12, which is important for brain health and the creation of DNA.
- Milk (if used in the optional frosting or as a pairing): Provides calcium, which is crucial for bone health, as well as protein and vitamin D.
- Cream Cheese (if used in the optional frosting): Contains a small amount of vitamin A, which is important for vision and the immune system.
- Butter: Although high in fat, it is also a source of fat-soluble vitamins such as vitamins A, E, and D. It’s important to enjoy these cake bars as part of a balanced diet.
How Can You Preserve Leftovers of Easy Halloween Oreo Cake Bars?
- Cool Completely: Before storing, allow the cake bars to cool completely to room temperature. This prevents condensation inside the storage container, which can make the bars soggy.
- Airtight Container: Place the cooled cake bars in an airtight container. If stacking bars, place a sheet of parchment paper between layers to prevent sticking.
- Room Temperature Storage: For short-term storage, keep the container at room temperature in a cool, dry place. This method is ideal for enjoying the leftovers within a few days.
- Refrigerate: If you’ve added cream cheese frosting or if your kitchen is particularly warm, refrigerate the cake bars in their airtight container. They’ll stay fresh for up to a week.
- Freezing: For longer preservation, wrap each bar individually in plastic wrap and then place them in a freezer-safe bag or container. They can be frozen for up to 3 months. Thaw in the refrigerator overnight or at room temperature for a few hours before enjoying.
- Avoid Direct Sunlight: Store the container away from direct sunlight to prevent the cake bars from melting or becoming too soft. By following these storage tips, you can extend the enjoyment of your Easy Halloween Oreo Cake Bars well beyond the Halloween season.
Conclusion
Embracing the Halloween spirit has never been easier or more delicious with these Easy Halloween Oreo Cake Bars.
They perfectly blend the nostalgic taste of Oreos with the festive fun of Halloween, making them a must-try for anyone looking to add a touch of sweetness to their spooky celebrations.
Whether you’re a seasoned baker or a novice in the kitchen, this recipe promises a rewarding and scrumptious experience.
So, don your apron, preheat your oven, and prepare to delight your family and friends with this irresistibly tasty treat. Happy baking, and happy Halloween!
FAQs
Q: Can I use a different type of Oreo for this Easy Halloween Oreo Cake Bars?
A: Absolutely! While classic Oreos are a popular choice, feel free to experiment with different flavors such as Pumpkin Spice Oreos for an extra Halloween twist or Golden Oreos for a different taste profile.
Q: What can I use if I don’t have a baking pan of the recommended size?
A: You can use a different sized pan, but remember that it may affect the thickness of your cake bars and the baking time. If you use a larger pan, the bars will be thinner and may bake quicker. Conversely, a smaller pan will result in thicker bars that may need more time in the oven.
Q: Are these Easy Halloween Oreo Cake Bars freezer-friendly?
A: Yes, Easy Halloween Oreo Cake Bars can be frozen. Just make sure they are completely cooled and stored in an airtight container. They can be frozen for up to 3 months. Thaw them in the refrigerator overnight before serving.
Q: Can I make these Easy Halloween Oreo Cake Bars in advance?
A: Definitely! These cake bars can be made a day or two in advance. Store them in an airtight container at room temperature to maintain freshness.
Q: How can I make these Easy Halloween Oreo Cake Bars even more Halloween-themed?
A: Consider adding Halloween sprinkles on top before baking or using food coloring to tint the batter. You could also decorate the top with frosting in Halloween colors after they’ve cooled for an extra festive touch.

Hi, I’m Liza Jensen, your culinary companion here at Recipe by Liza. 🍳🥗Cooking has always been my passion—I find joy in every whisk, every sizzle, and every aromatic spice. As a home cook and recipe developer, I’ve explored flavors from around the world, creating dishes that warm hearts and tantalize taste buds.Join me on this flavorful journey! Let’s swap kitchen stories, share tips, and celebrate the magic of food together.


