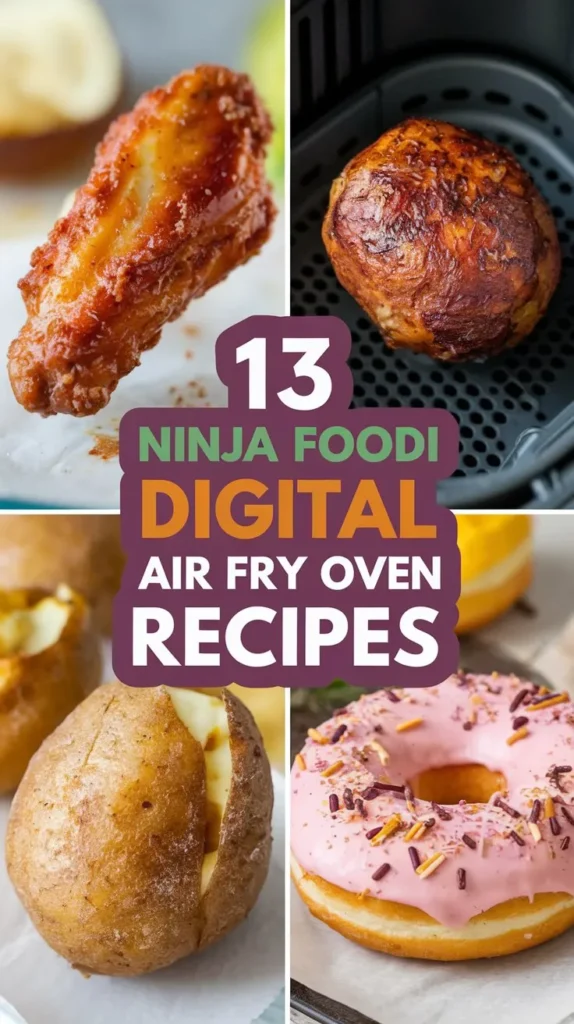
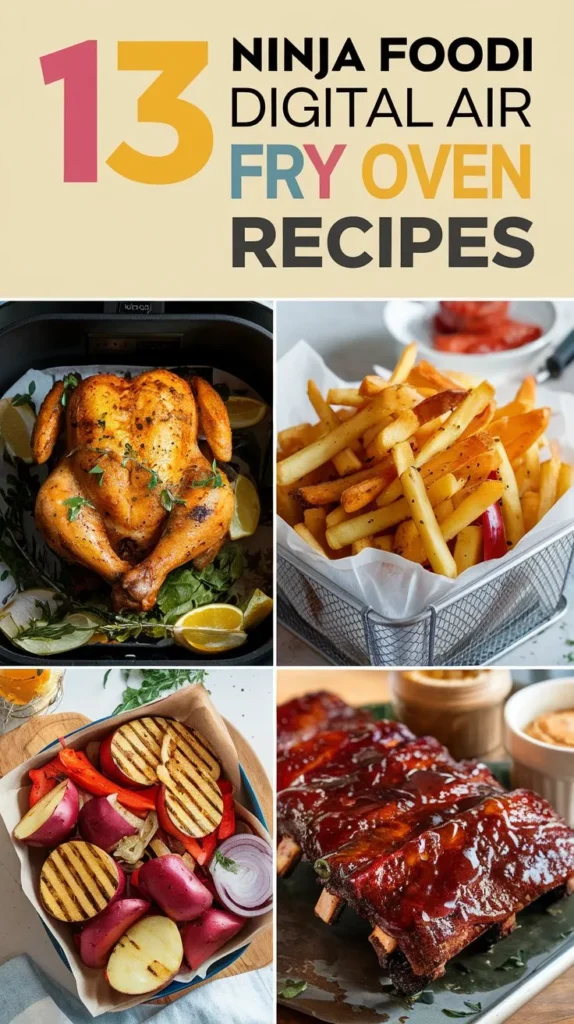
13 Ninja Foodi Digital Air Fry Oven Recipes: A Comprehensive Guide
You’re about to unleash the full potential of your Ninja Foodi Digital Air Fry Oven with these 13 innovative recipes that cater to a wide range of tastes and dietary needs. From savory meat and seafood dishes to vegan and vegetarian options, and even sweet treats, there’s something for everyone.
You’ll discover new ways to cook classic favorites and experiment with bold flavors and ingredients. But what’s the secret to achieving that perfect crispy texture and flavor in your dishes? Keep exploring to find out how these recipes can take your cooking skills to the next level.
In a Nutshell
- Explore Meat and Seafood Recipes like Korean-Style Fried Chicken Wings, Perfectly Cooked Steak Fajitas, and Spicy Shrimp and Pineapple Skewers.
- Discover Vegetarian and Vegan Recipes like Crispy Sweet Potato Fries, Vegan Cauliflower Gnocchi Bake, and Garlic Parmesan Zucchini Sticks.
- Try Breakfast Recipes such as Breakfast Strata with Sausage and Cheese, and experiment with spices and herbs for added flavor.
- Indulge in Dessert Recipes like Decadent Chocolate Lava Cake, and customize with different flavors and toppings.
- With the Ninja Foodi Digital Air Fry Oven, achieve restaurant-quality dishes at home with minimal oil and effortless cooking.
Korean-Style Fried Chicken Wings
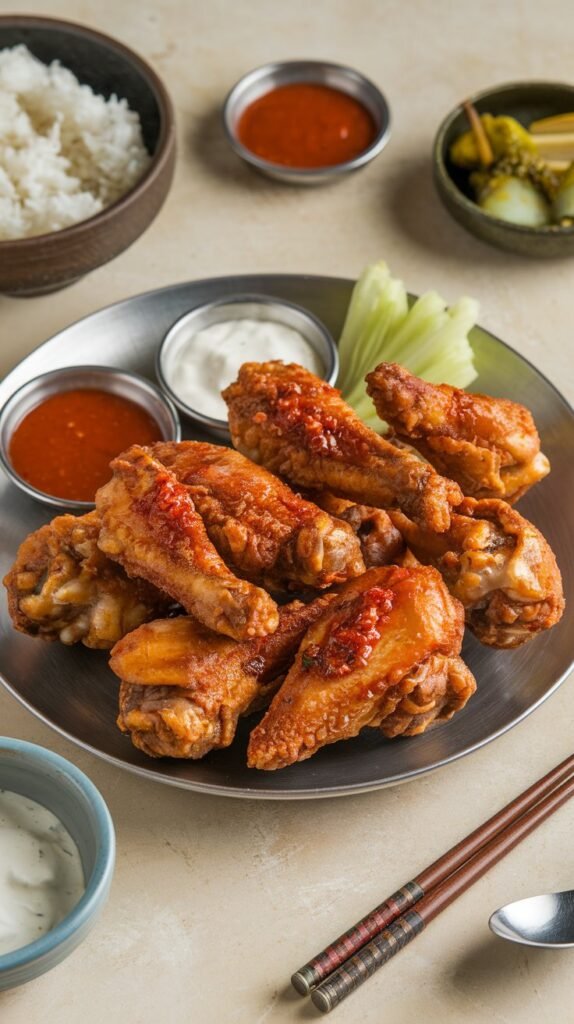
With the Ninja Foodi Digital Air Fry Oven, you can create mouthwatering Korean-Style Fried Chicken Wings that will transport your taste buds to the streets of Seoul.
These delectable wings are a perfect representation of Korean cuisine’s bold flavor profiles, which often combine spicy, sweet, and savory notes.
To achieve this distinctive taste, you’ll need to marinate the chicken wings in a mixture of soy sauce, garlic, ginger, brown sugar, and gochujang (Korean chili paste) for at least 2 hours.
Next, preheat the Ninja Foodi Digital Air Fry Oven to 400°F (200°C).
Remove the wings from the marinade, allowing any excess to drip off.
Cook the wings in batches for 20-22 minutes, shaking halfway through.
You’ll be amazed at how the air fryer’s precise temperature control and rapid air circulation help to lock in the juices and crisp up the skin.
To take your Korean-Style Fried Chicken Wings to the next level, try incorporating different cooking techniques.
For example, you can broil the wings for an additional 2-3 minutes to achieve a caramelized glaze.
Alternatively, you can toss the cooked wings in a spicy Korean chili flake called gochugaru for an added kick.
With the Ninja Foodi Digital Air Fry Oven, the possibilities are endless, and you’ll be well on your way to creating authentic Korean-Style Fried Chicken Wings that will impress your friends and family.
Crispy Sweet Potato Fries Recipe
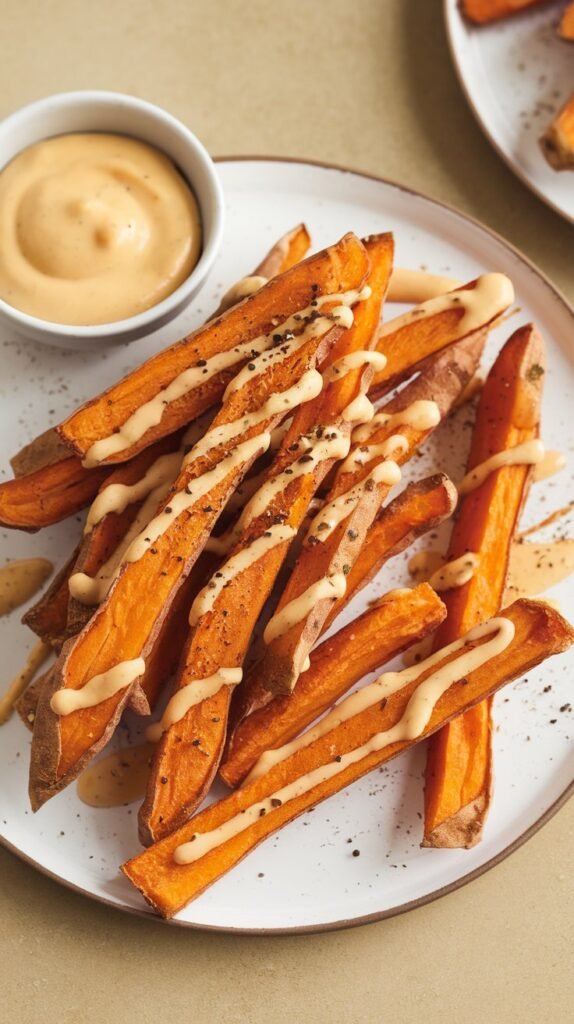
Take advantage of the Ninja Foodi Digital Air Fry Oven’s advanced technology to transform humble sweet potatoes into Crispy Sweet Potato Fries that rival those from your favorite restaurant.
You’ll be amazed at how easy it’s to achieve that perfect crispiness without deep-frying.
To begin, prep your sweet potatoes by washing and peeling them, then cutting them into long, thin strips.
Soak the strips in cold water for at least 30 minutes to remove excess starch.
After soaking, pat the strips dry with paper towels to remove excess moisture.
This vital step guarantees your fries come out crispy, not soggy.
Next, preheat your Ninja Foodi Digital Air Fry Oven to 400°F (200°C).
Line the oven basket with parchment paper for easy cleanup.
In a bowl, toss the sweet potato strips with a tablespoon of oil and your favorite seasonings, such as paprika, garlic powder, or chili powder.
Now, it’s time for the fryer hack that’ll take your sweet potato fries to the next level: cook them in batches.
Divide the sweet potato strips into 2-3 batches, depending on the size of your oven basket.
Cook each batch for 12-15 minutes, shaking the basket halfway through.
This guarantees even cooking and prevents overcrowding.
Once cooked, remove the fries from the oven and sprinkle with salt to taste.
Serve hot and enjoy the oohs and aahs from your family and friends!
With these simple steps and the Ninja Foodi Digital Air Fry Oven’s advanced technology, you’ll be the crispy sweet potato fry master in no time.
Baked Salmon With Lemon Herbs
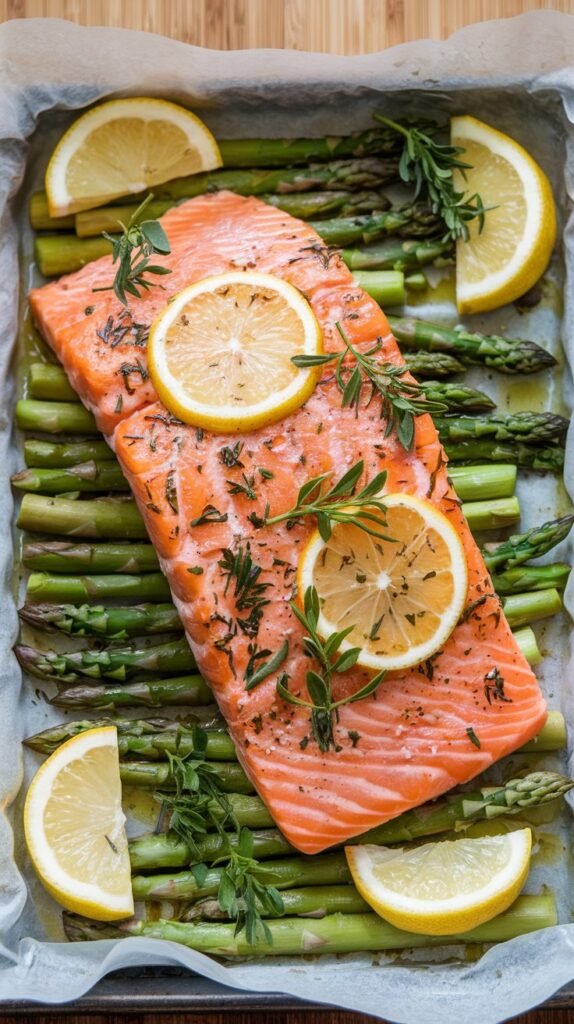
Frequently, salmon fillets are relegated to the domain of boring, overcooked meals, but not today!
You’re about to discover the secret to a mouthwatering, flavorful dish that will impress even the most discerning seafood lovers.
Introducing baked salmon with lemon herbs, a recipe that will transport your taste buds to the ocean’s freshness.
To start, preheat your Ninja Foodi Digital Air Fry Oven to 400°F (200°C).
Line the oven’s tray with parchment paper or a silicone mat, and place your fresh catch salmon fillets on it.
Drizzle with olive oil, and sprinkle both sides with salt, pepper, and your favorite herbs (such as thyme, parsley, or dill).
Slice a lemon thinly and place it on top of each fillet, followed by a sprinkle of grated garlic for added depth.
Close the oven’s lid and set the timer for 12-15 minutes, depending on the thickness of your salmon.
The result? Flaky, tender fish with a delicate crust, infused with the brightness of lemon and the subtlety of herbs.
Serve with a side of roasted vegetables or a simple salad, and you’ll be the envy of all your friends.
This recipe is a game-changer for seafood lovers, and it’s incredibly easy to prepare.
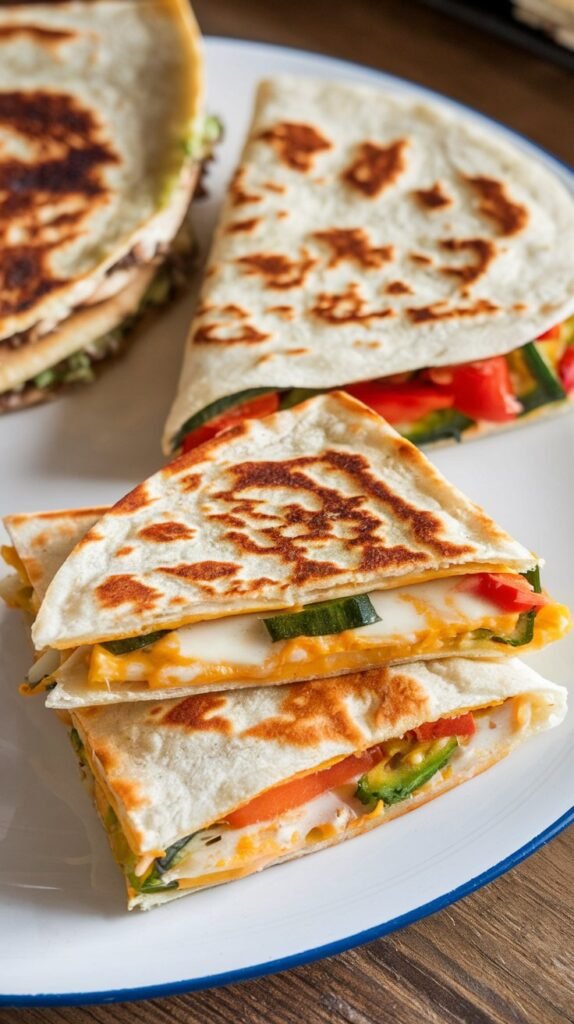
Quick and Easy Quesadillas
You’ve just devoured a flavorful baked salmon dish, and now you’re craving something entirely different – a savory, cheesy, and indulgent treat that’s quick to prepare.
Stop your search right here at a quesadilla, the ultimate comfort food that’s easy to make and packed with Mexican flavors.
With the Ninja Foodi Digital Air Fry Oven, you can create a variety of quesadilla variations in no time.
- Chicken Fajita Quesadilla: Shredded chicken cooked with peppers and onions, wrapped in a flour tortilla with melted pepper jack cheese.
- Roasted Veggie Quesadilla: Sauteed veggies like zucchini, bell peppers, and onions, paired with gooey mozzarella cheese and wrapped in a whole wheat tortilla.
- Breakfast Quesadilla: Scrambled eggs, crispy bacon, and shredded cheddar cheese, all wrapped in a crispy flour tortilla.
- Shrimp and Pineapple Quesadilla: Succulent shrimp cooked with pineapple chunks and wrapped in a flour tortilla with melted mozzarella cheese.
- Bean and Cheese Quesadilla: A classic vegetarian option featuring black beans, diced tomatoes, and shredded Monterey Jack cheese, wrapped in a crispy corn tortilla.
These quesadilla recipes are perfect for a quick lunch or dinner, and can be customized to suit your taste preferences.
Simply place your ingredients in the Ninja Foodi Digital Air Fry Oven, set the temperature and timer, and let the magic happen.
In just a few minutes, you’ll have a delicious, cheesy quesadilla that’s sure to satisfy your cravings.
Vegan Cauliflower Gnocchi Bake
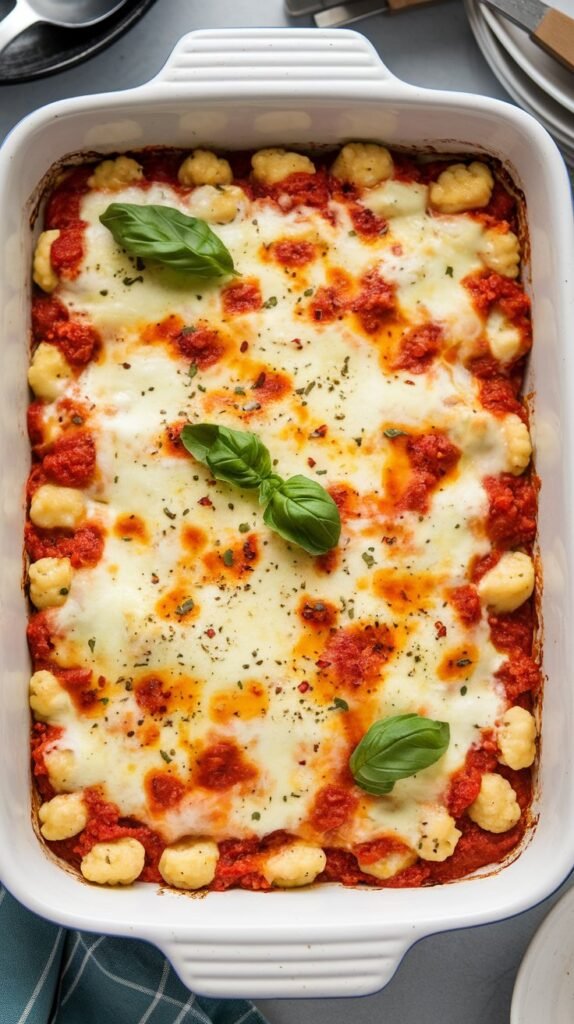
One delightful vegan alternative to traditional gnocchi is cauliflower gnocchi, which can be easily baked to perfection in the Ninja Foodi Digital Air Fry Oven.
This innovative twist on a classic Italian dish isn’t only delicious but also packed with cauliflower benefits, including high vitamin C content, anti-inflammatory properties, and a low-calorie count.
To prepare the Vegan Cauliflower Gnocchi Bake, start by preheating your Ninja Foodi Digital Air Fry Oven to 400°F (200°C).
Rinse and pat dry one head of cauliflower, then pulse it in a food processor until it resembles rice.
Sauté the cauliflower “rice” in a pan with olive oil, garlic, and salt until it’s lightly browned and fragrant.
Mix in your favorite vegan gnocchi variations, such as nutritional yeast for a cheesy flavor or dried basil for an herby twist.
Transfer the cauliflower mixture to a baking dish and top with your favorite marinara sauce and vegan mozzarella shreds.
Bake in the Ninja Foodi Digital Air Fry Oven for 20-25 minutes, or until the gnocchi is tender and the top is golden brown.
Serve hot, garnished with fresh parsley and a sprinkle of nutritional yeast for an extra burst of flavor.
This Vegan Cauliflower Gnocchi Bake is a game-changer for vegans and non-vegans alike, offering a satisfying and healthy twist on a classic comfort food dish.
Perfectly Cooked Steak Fajitas
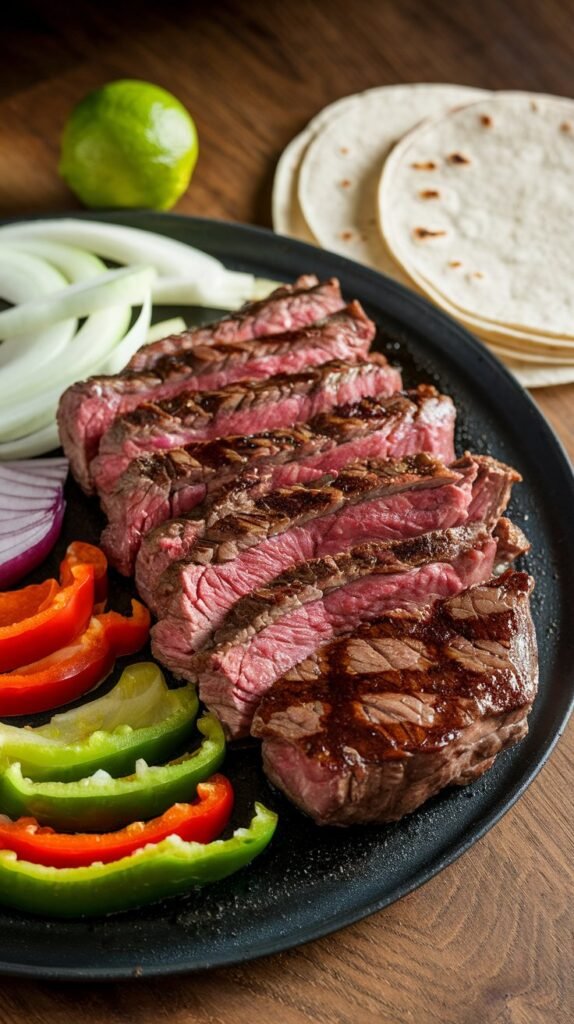
Since steak fajitas are a staple in many households, mastering the technique of cooking them to perfection is crucial.
You want to achieve that perfect balance of tender, juicy steak and crispy vegetables, all wrapped up in a warm flour tortilla. With the Ninja Foodi Digital Air Fry Oven, you can achieve just that.
To get started, you’ll want to choose your steak marinade. Will you go for a classic soy sauce and lime juice combination, or something a bit more adventurous like a chipotle pepper and cumin blend? Whatever you choose, make sure to let your steak sit for at least 30 minutes to allow the flavors to meld.
Next, it’s time to prep your vegetables. Slice up some bell peppers, onions, and jalapeños, and toss them with a bit of olive oil, salt, and pepper.
You can also add in some garlic and cilantro for extra flavor.
Cook your steak to your desired level of doneness, whether that’s rare, medium-rare, or well-done.
Use the air fry function to get a crispy crust on your steak, and then finish it off with a quick broil to lock in the juices.
Cook your vegetables in batches to guarantee they’re not overcrowded, and adjust the cooking time based on your desired level of crispiness.
Experiment with different Fajita styles, such as adding in some sautéed mushrooms or using different types of peppers.
Don’t be afraid to get creative with your toppings – sliced avocado, sour cream, and salsa are all great options!
Spicy Shrimp and Pineapple Skewers
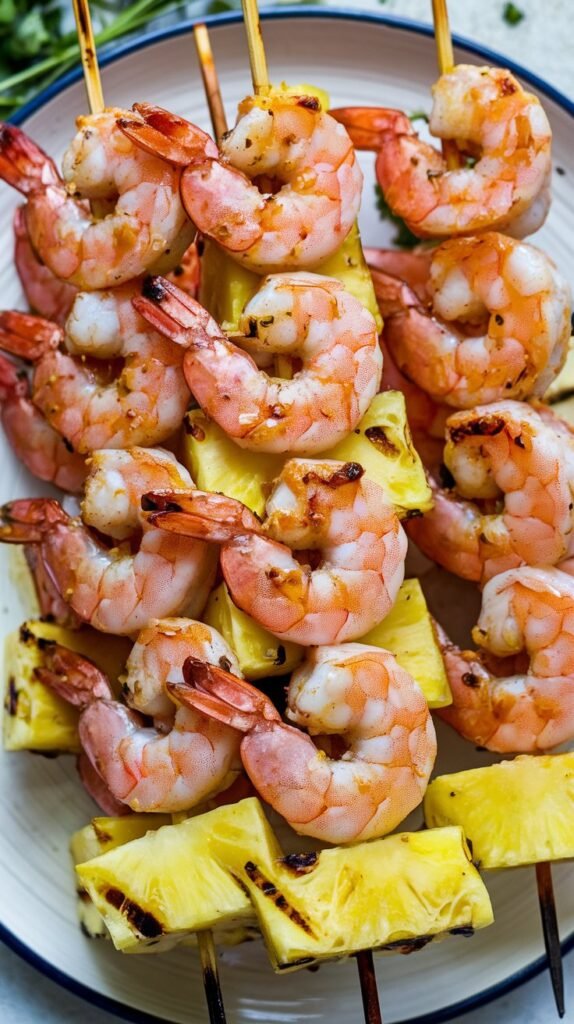
Three colorful skewers of succulent shrimp and juicy pineapple, perfectly grilled to caramelize the natural sugars, are just what you need to elevate your summer gatherings.
With the Ninja Foodi Digital Air Fry Oven, you can achieve this impressive dish with ease. To start, prepare a shrimp marinade by whisking together olive oil, soy sauce, honey, garlic, and a pinch of red pepper flakes.
Add the shrimp and let them marinate for at least 30 minutes. Meanwhile, cut fresh pineapple into chunks and thread them onto skewers along with the marinated shrimp and some cherry tomatoes.
Preheat the Ninja Foodi Digital Air Fry Oven to 400°F (200°C). Place the skewers in a single layer on the oven rack and cook for 8-10 minutes, or until the shrimp are pink and cooked through.
During the last minute of cooking, brush the skewers with a mixture of brown sugar, soy sauce, and pineapple juice to create a sweet and sticky glaze.
Serve immediately, garnished with fresh cilantro and a side of quinoa or rice. The spicy kick from the marinade pairs perfectly with the sweetness of the pineapple, making this dish a revitalizing twist on traditional shrimp skewers.
With the Ninja Foodi Digital Air Fry Oven, you can create this mouthwatering recipe with minimal effort and cleanup, making it perfect for your next summer gathering or potluck.
Garlic Parmesan Zucchini Sticks
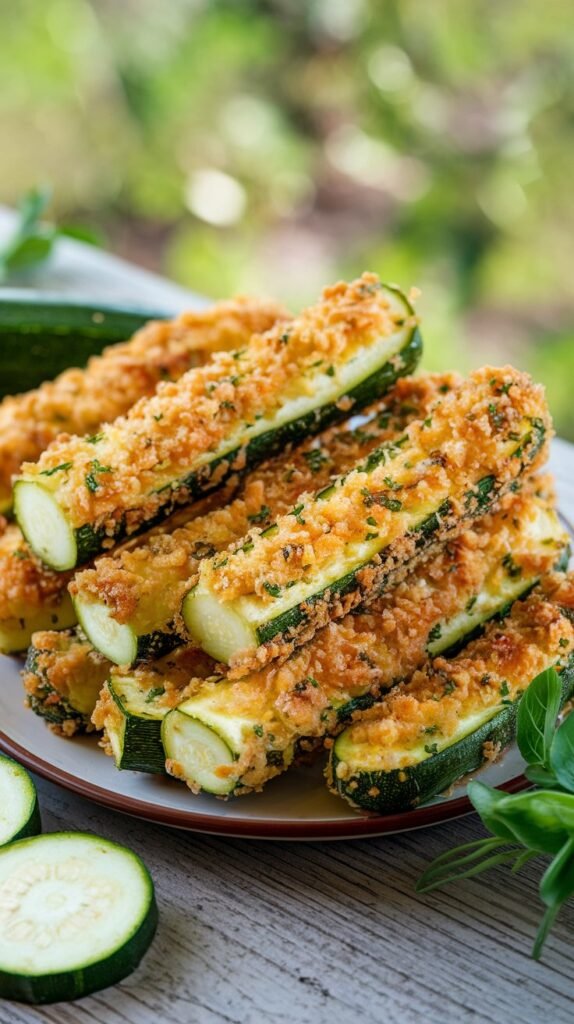
Crunchy, flavorful, and ridiculously easy to make, garlic Parmesan zucchini sticks are the perfect accompaniment to your favorite dip or a healthy snack on their own.
As a veggie delight, they’re ideal for warm weather gatherings or a quick summer snack.
To make these tasty treats, you’ll need:
- 2 medium zucchinis, sliced into 1/4-inch thick sticks
- 1/2 cup all-purpose flour
- 1 teaspoon paprika
- 1/2 teaspoon garlic powder
- 1/2 teaspoon salt
- 1/4 teaspoon black pepper
- 1 cup grated Parmesan cheese
- 2 tablespoons olive oil
Simply dip each zucchini stick into the flour mixture, then the beaten eggs, and finally the Parmesan cheese.
Place them in a single layer in the Ninja Foodi Digital Air Fry Oven basket.
Drizzle with olive oil and cook at 400°F for 10-12 minutes, shaking halfway through.
You’ll be rewarded with a crispy exterior and a tender interior.
Serve hot and enjoy!
Mini Beef or Turkey Sliders
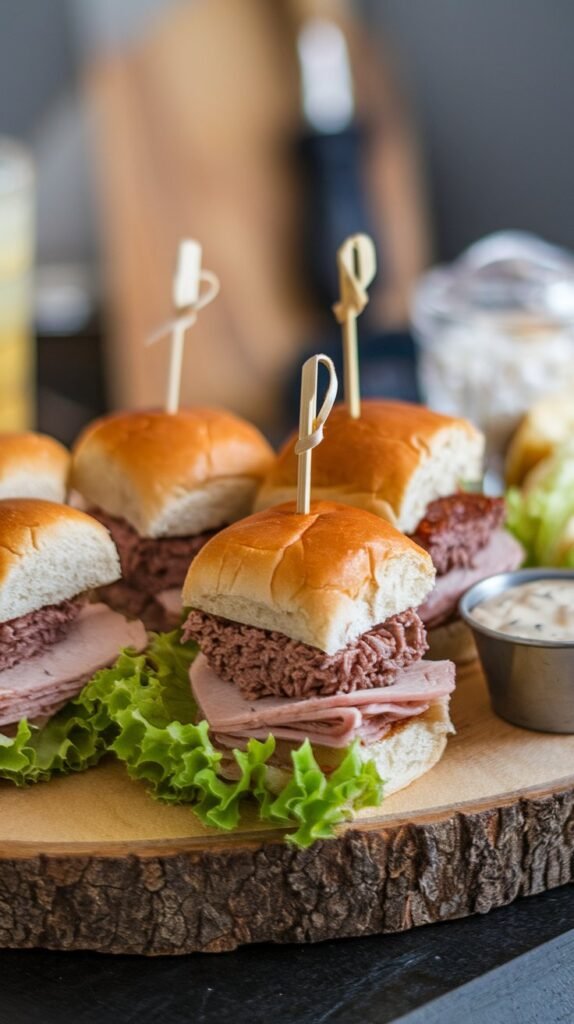
With the mini beef or turkey sliders, you’re in for a treat that’s perfect for game day, potlucks, or casual gatherings.
These bite-sized burgers are easy to make and can be customized to suit your taste preferences. Using the Ninja Foodi Digital Air Fry Oven, you can cook up to 12 sliders at once, making it an ideal recipe for a sliders party.
To start, preheat the oven to 375°F. Meanwhile, prepare your slider patties by mixing ground beef or turkey with your favorite seasonings and spices. Form the mixture into small patties and place them on the oven’s crisper basket.
Cook the patties for 8-10 minutes or until they’re cooked through.
While the patties are cooking, toast some small buns in the oven for a few minutes. Assemble the sliders by spreading a dollop of your favorite condiment on the bun, followed by a cooked patty, a slice of cheese, and your preferred toppings.
The possibilities for flavor combinations are endless – think caramelized onions, crispy bacon, or melted cheddar.
The best part? These sliders are ready in under 20 minutes, making them a quick and easy solution for a crowd-pleasing snack.
Roasted Vegetable and Quinoa Bowl
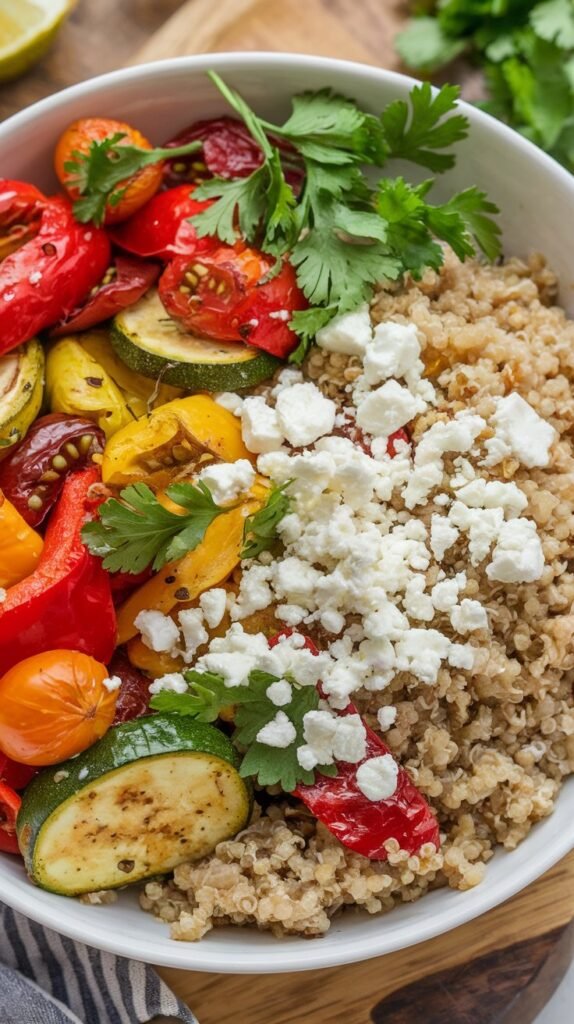
You’ve satisfied your guests with the mini beef or turkey sliders, and now it’s time to cater to the health-conscious crowd with a flavorful and nutritious Roasted Vegetable and Quinoa Bowl.
This dish is a veggie delight that will leave everyone feeling full and satisfied.
To create this Quinoa twist, simply toss your favorite vegetables – such as Brussels sprouts, sweet potatoes, and red onions – with a drizzle of olive oil, salt, and pepper.
Then, spread them out in a single layer in the Ninja Foodi Digital Air Fry Oven basket.
Roast at 400°F for 20-25 minutes, or until the vegetables are tender and lightly caramelized.
Meanwhile, cook quinoa according to package instructions.
Once cooked, fluff it with a fork and set aside.
To assemble the bowls, divide the quinoa among four bowls, then top with the roasted vegetables.
Add your favorite toppings, such as diced avocado, crumbled feta cheese, or a dollop of tzatziki sauce.
Some other ideas to customize your Roasted Vegetable and Quinoa Bowl include:
- Adding some heat with diced jalapeños or red pepper flakes
- Mixing in some chopped fresh herbs, such as parsley or cilantro
- Swapping out quinoa for brown rice or farro
- Using different vegetables, such as broccoli or cauliflower
- Adding some protein with grilled chicken or tofu
Crunchy Fried Green Tomatoes
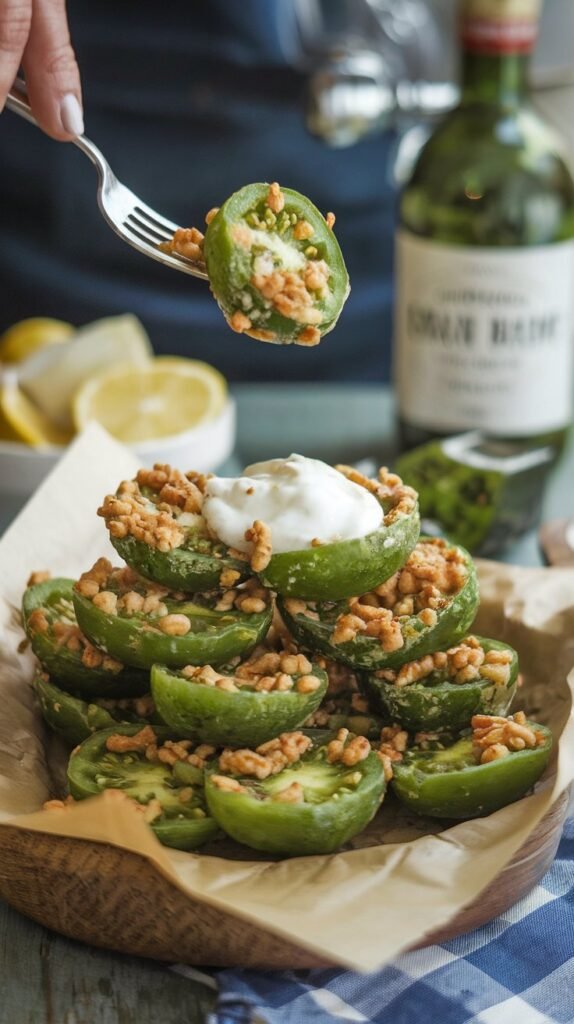
Fresh from the garden, green tomatoes are about to get a crispy makeover in the Ninja Foodi Digital Air Fry Oven.
You’ll love the Southern twist on this classic dish, which typically requires deep-frying. With the air fry oven, you can achieve the same crunchy exterior and tender interior without the excess oil.
Start by slicing the green tomatoes into 1/4-inch thick rounds.
In a shallow dish, mix together 1 cup of panko breadcrumbs, 1/2 cup of grated Parmesan cheese, and 1/4 cup of chopped fresh parsley.
In a separate dish, beat 2 eggs.
Dip each tomato slice into the eggs, coating both sides, then roll in the breadcrumb mixture, pressing gently to adhere.
Preheat the Ninja Foodi Digital Air Fry Oven to 400°F.
Place the coated tomato slices in a single layer on the oven rack, leaving a little space between each slice.
Cook for 10-12 minutes, or until crispy and golden brown, shaking the rack halfway through.
The result is a deliciously crunchy exterior giving way to the farm freshness of the green tomatoes.
Serve hot with your favorite dipping sauce, such as remoulade or ranch dressing.
This side dish is perfect for a summer gathering or a family dinner, and it’s a great way to showcase the flavors of the season.
With the Ninja Foodi Digital Air Fry Oven, you can enjoy crispy fried green tomatoes without the guilt – or the mess!
Breakfast Strata With Sausage and Cheese

At dawn’s break, when morning hunger pangs strike, a satisfying breakfast is just what you need to kick-start your day.
With the Ninja Foodi Digital Air Fry Oven, you can create a mouthwatering breakfast strata that’s both easy to make and packed with flavor. This breakfast dish is a game-changer, and with these simple steps, you’ll be enjoying a delicious breakfast in no time.
To create your breakfast strata, start by gathering your ingredients. You’ll need some crusty bread, eggs, milk, sausage, cheese, and any additional toppings you like.
For sausage options, consider using classic pork sausage, chorizo for a spicy kick, or even vegan sausage for a meat-free alternative. When it comes to cheese variations, you can’t go wrong with cheddar, parmesan, or a blend of mozzarella and feta.
Here are some tips to take your breakfast strata to the next level:
- Use stale bread: It may seem counterintuitive, but stale bread is perfect for breakfast strata. It soaks up the egg mixture beautifully and adds texture to the dish.
- Don’t overmix the eggs: Stop mixing once the eggs are just combined with the milk. Overmixing can lead to a dense, rubbery texture.
- Add fresh herbs: Chopped fresh herbs like parsley or chives add a bright, fresh flavor to the dish.
- Experiment with spices: Add a pinch of cayenne pepper or red pepper flakes for an extra kick.
- Let it rest: Before serving, let the strata rest for 10-15 minutes. This allows the flavors to meld together and the bread to set.
With these simple tips and the power of the Ninja Foodi Digital Air Fry Oven, you’ll be enjoying a mouthwatering breakfast strata in no time.
Decadent Chocolate Lava Cake

While indulging in a rich, gooey chocolate lava cake is often reserved for special occasions, with the Ninja Foodi Digital Air Fry Oven, you can treat yourself to this decadent delight anytime.
This innovative appliance allows you to create a molten chocolate center, surrounded by a tender cake crust, in just 12 minutes. The result is a show-stopping dessert that’s perfect for satisfying your sweet tooth or impressing dinner guests.
To make this indulgent treat, you’ll need just a few ingredients, including dark chocolate, eggs, sugar, and flour.
Simply mix the ingredients together, pour the batter into ramekins, and place them in the Ninja Foodi Digital Air Fry Oven. Set the temperature to 375°F and the timer to 12 minutes, and let the oven do the rest. The result is a cake that’s both gooey and tender, with a rich, velvety chocolate center.
Take your lava cake to the next level by experimenting with different flavors and toppings.
Try adding nuts, caramel sauce, or whipped cream to create a unique dessert that’s all your own. If you’re feeling adventurous, try your hand at cake decorating or chocolate making to create a truly show-stopping dessert. With the Ninja Foodi Digital Air Fry Oven, the possibilities are endless, and you’re limited only by your imagination.
Frequently Asked Questions
Can I Use the Ninja Foodi Digital Air Fry Oven for Dehydrating Food?
You can definitely use your Ninja Foodi Digital Air Fry Oven for dehydrating food, specifically ideal for dehydrating fruits and vegetables, allowing you to preserve their nutrients and flavors at a lower temperature with controlled airflow.
How Do I Clean the Ninja Foodi Digital Air Fry Oven’s Basket and Pan?
You’ll master basket maintenance and oven sanitation by washing the basket and pan in soapy water, then drying thoroughly; for tougher grime, mix baking soda and water to create a paste, letting it sit before wiping clean.
Are Ninja Foodi Digital Air Fry Oven Recipes Compatible With Other Air Fryers?
When switching between air fryer brands, you’ll need to convert recipes to guarantee perfect results. Fortunately, most recipes can be adapted with slight tweaks to temperature, cooking time, and ingredient proportions, making it easy to enjoy your favorite dishes on any air fryer brand.
Can I Cook Frozen Foods in the Ninja Foodi Digital Air Fry Oven?
You can definitely cook frozen foods in the Ninja Foodi Digital Air Fry Oven, but adjust Cooking Times according to the specific Frozen Food Options you’re using, and make sure to follow the recommended temperature and settings for ideal results.
Is the Ninja Foodi Digital Air Fry Oven Suitable for Large Family Meals?
When planning meals for large family gatherings, you’ll appreciate the Ninja Foodi’s spacious capacity, allowing you to cook generous portions of your favorite dishes, making it an ideal solution for busy families who want to share delicious meals together.
Conclusion
You’ve just accessed a world of flavors and possibilities with these 13 innovative Ninja Foodi Digital Air Fry Oven recipes! From savory to sweet, meaty to plant-based, and breakfast to dessert, you’ll find inspiration to spice up your meal routine. With these easy-to-follow recipes, you’ll be whipping up mouth-watering dishes in no time. Get ready to experiment, explore, and devour the flavors you love!





Hi, I’m Liza Jensen, your culinary companion here at Recipe by Liza. 🍳🥗Cooking has always been my passion—I find joy in every whisk, every sizzle, and every aromatic spice. As a home cook and recipe developer, I’ve explored flavors from around the world, creating dishes that warm hearts and tantalize taste buds.Join me on this flavorful journey! Let’s swap kitchen stories, share tips, and celebrate the magic of food together.

