Marbled Cookie Brownie Recipe: Ultimate Indulge in a Fusion of Flavors
Marbled Cookie Brownie Recipe: Looking for the ultimate indulgent treat that combines the best of both worlds? Look no further than our delicious Marbled Cookie Brownie Recipe!
From the chewy, chocolatey goodness of a brownie to the irresistible sweetness of a cookie, this recipe will satisfy all your dessert cravings.
Get ready to elevate your baking game and impress your friends and family with this must-try recipe. So let’s dive in and learn how to make these delectable Marbled Cookie Brownies!
Marbled Cookie Brownie Recipe: A Quick Overview
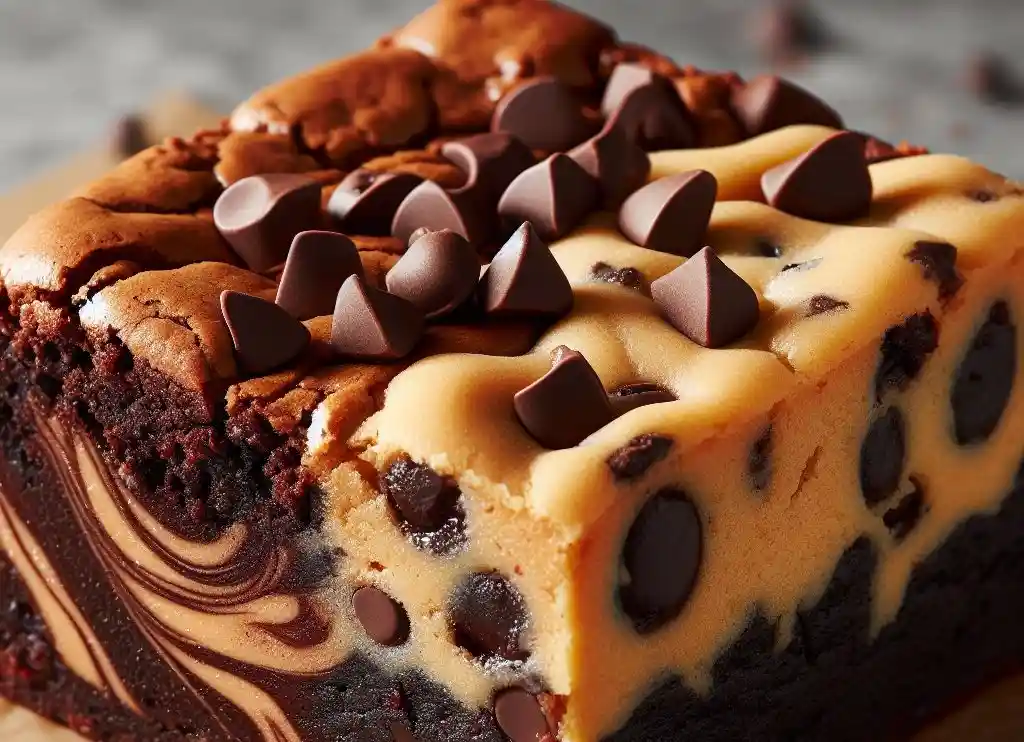
Recipe Description: The Marbled Cookie Brownie Recipe is a harmonious blend of two classic desserts, delivering the soft, buttery bliss of cookies with the rich, fudgy delight of brownies. Swirled together, they create a visually appealing and deliciously indulgent treat perfect for any occasion.
Preparation Time: 20 minutes
Cooking Time: 35 minutes
Total Time: 55 minutes
Type of Dish: Dessert
Cuisine: American
Quantity Produced: 12 servings
Number of Calories: Approximately 300 calories per serving
About Marbled Cookie Brownie Recipe
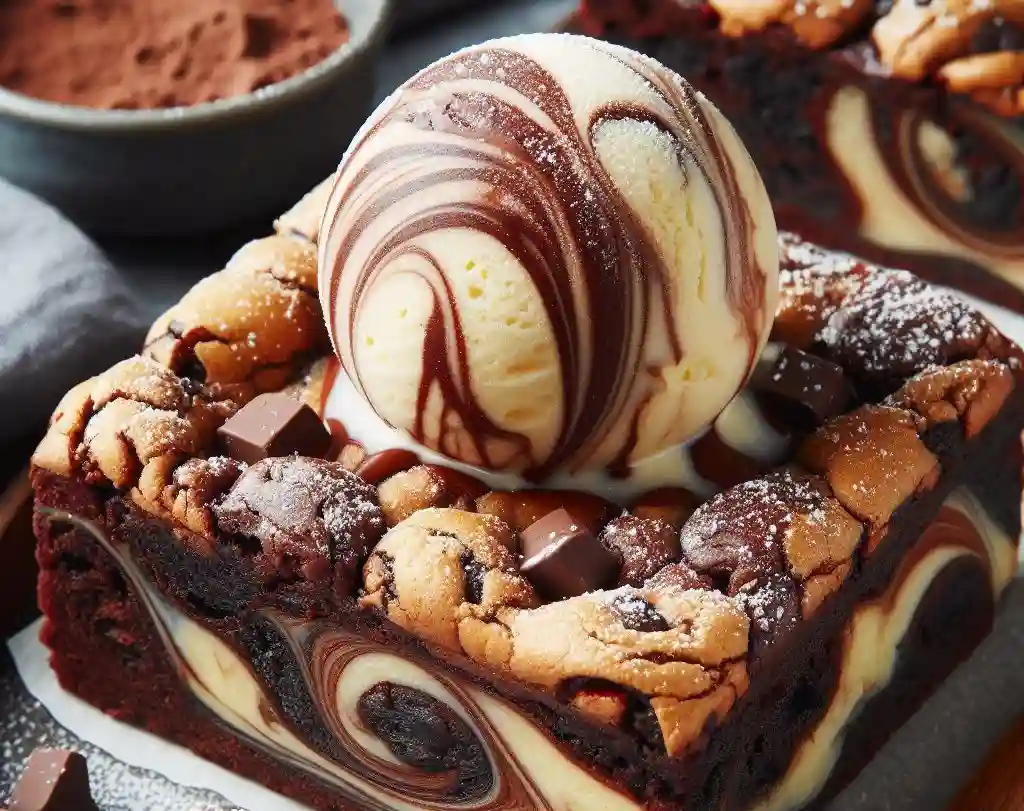
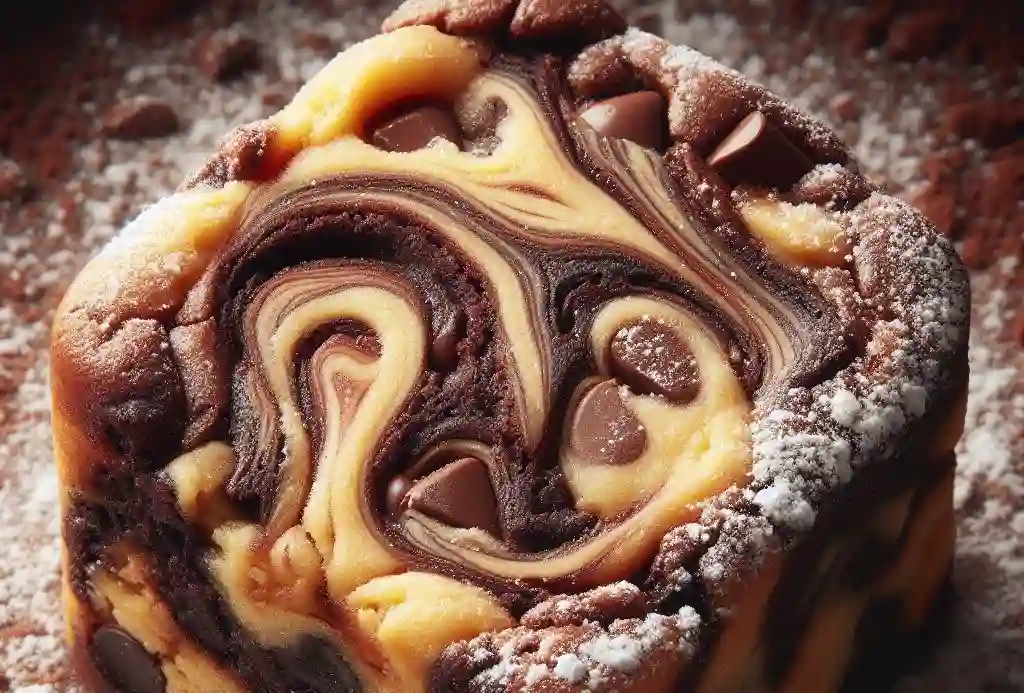
The Marbled Cookie Brownie Recipe is an exquisite culinary creation that combines the chewy, chocolatey goodness of brownies with the soft, buttery texture of cookies in a single dessert.
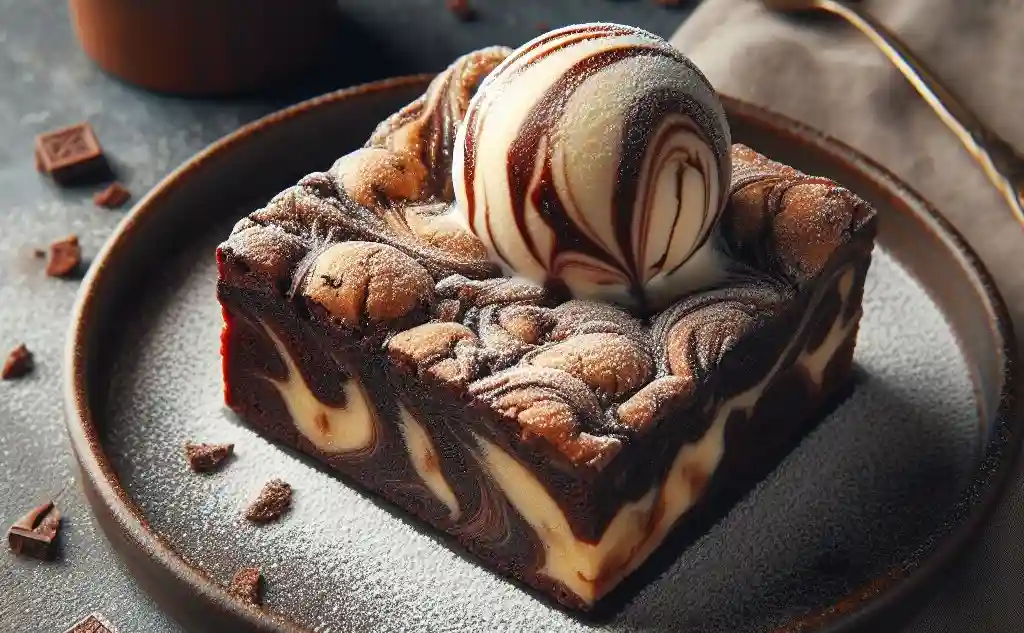
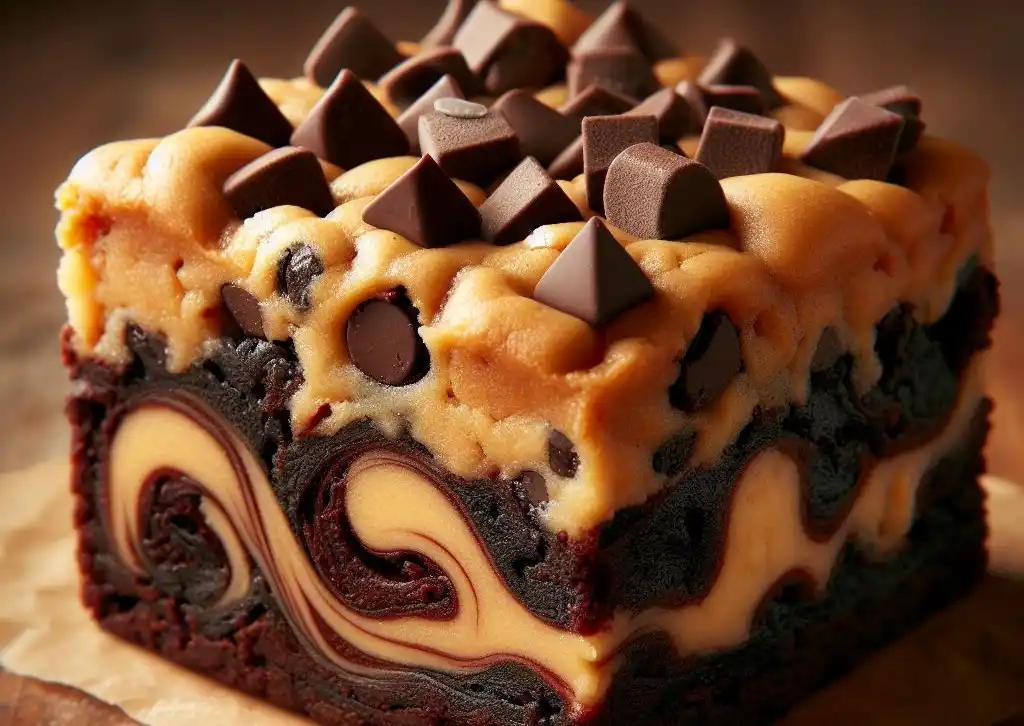
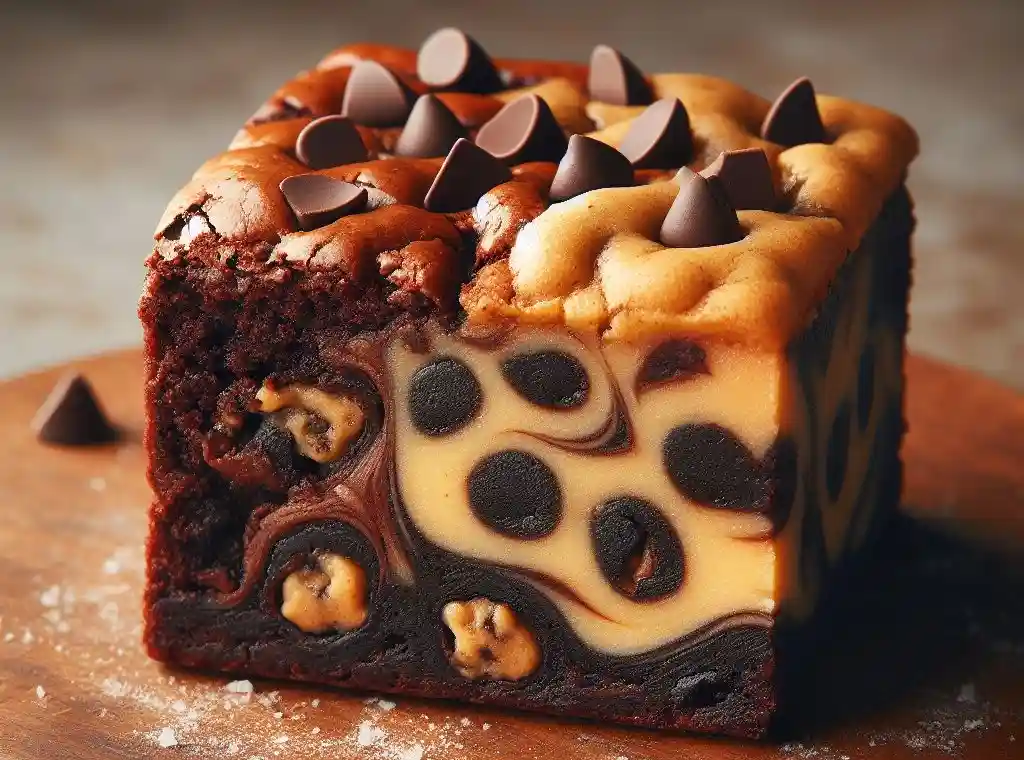
This innovative Marbled Cookie Brownie Recipe layers rich brownie batter and cookie dough together, then swirls them to create a visually stunning marbled effect that’s as pleasing to the eye as it is to the palate.
Originating from a desire to merge two beloved desserts, this Marbled Cookie Brownie Recipe has evolved into a versatile favorite that allows bakers to experiment with various ingredients and add-ins.
Ideal for gatherings, special occasions, or simply as a decadent snack, this Marbled Cookie Brownie Recipe offers a delightful twist on traditional baked goods, promising a memorable eating experience with every bite.
The charm of the MMarbled Cookie Brownie Recipe lies in its ability to blend simplicity and elegance, making it a must-try for anyone looking to elevate their baking repertoire.
Why does Marbled Cookie Brownie Recipe Stand Out?
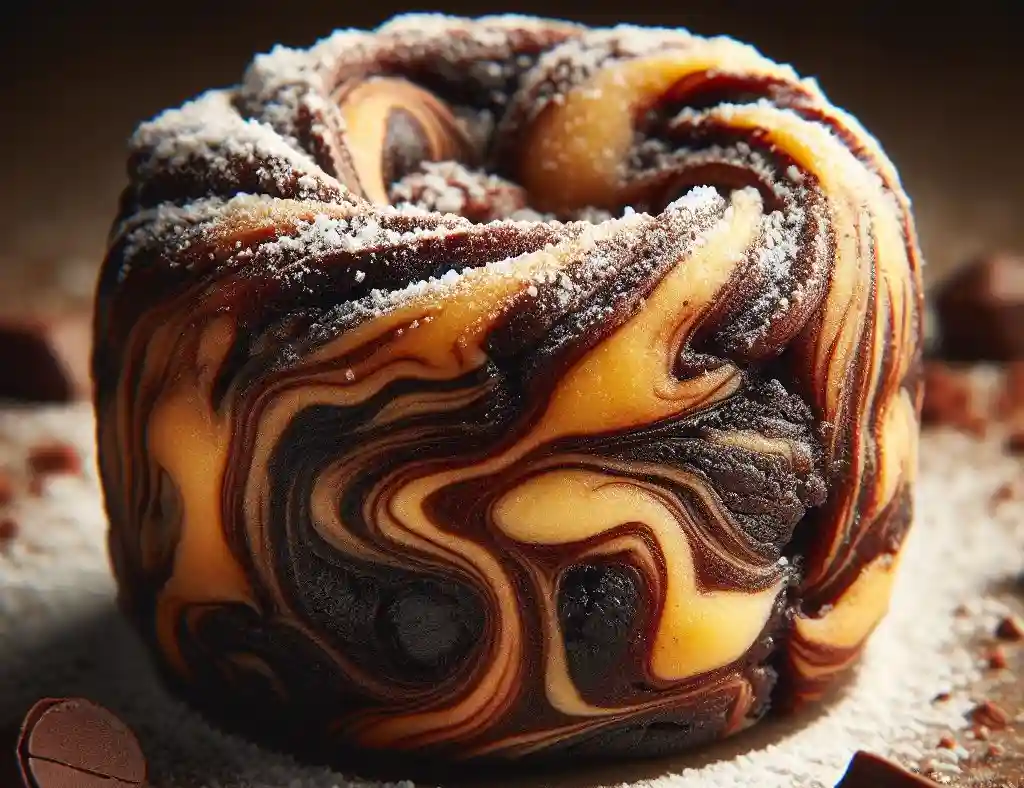
- Unique Fusion of Flavors: The Marbled Cookie Brownie Recipe merges the best aspects of soft, buttery cookies and rich, fudgy brownies, creating a delightful taste experience that is both familiar and novel.
- Visual Appeal: With its marbled design, this dessert tastes fantastic and looks stunning, making it a showstopper for any event or gathering.
- Versatility in Ingredients: This Marbled Cookie Brownie Recipe allows for a high degree of customization. Whether you want to add nuts, chocolate chips, or even swirls of caramel, there’s room to make it your own.
- Suitable for Various Dietary Needs: It can be easily modified to cater to gluten-free or vegan diets, making it an inclusive option that anyone can enjoy.
- Satisfies Multiple Cravings: For those who find themselves torn between a cookie and a brownie, this recipe offers the perfect solution, blending the textures and flavors.
- Easy to Make: Despite its impressive appearance and complex flavor profile, the Marbled Cookie Brownie is surprisingly straightforward to prepare, making it accessible for bakers of all skill levels.
What are the ingredients in the Marbled Cookie Brownie Recipe?
- 1 cup (2 sticks) unsalted butter, softened
- 3/4 cup granulated sugar
- 3/4 cup packed brown sugar
- 1 teaspoon vanilla extract
- 2 large eggs
- 2 1/4 cups all-purpose flour
- 1 teaspoon baking soda
- 1/2 teaspoon salt
- 1 cup semi-sweet chocolate chips
- 1/2 cup (1 stick) unsalted butter, melted
- 1 cup granulated sugar
- 2 large eggs
- 1 teaspoon vanilla extract
- 1/3 cup unsweetened cocoa powder
- 1/2 cup all-purpose flour
- 1/4 teaspoon baking powder
- 1/4 teaspoon salt
- 1/2 cup chopped walnuts (optional)
Must-Have Equipment for Making Marbled Cookie Brownie Recipe

- Mixing Bowls: You’ll need at least two for preparing the cookie dough and another for the brownie batter. Opt for medium to large sizes.
- Electric Mixer: A hand or stand mixer is essential for creaming butter and sugars together, ensuring a smooth and well-incorporated mixture for both dough and batter.
- Measuring Cups and Spoons: Accurate measurements are key to baking success. Ensure you have a full set of each to measure dry and wet ingredients.
- Whisk and Spatula: A whisk will help you mix the dry ingredients evenly, while a spatula is necessary for folding in chocolate chips and nuts and scraping the sides of bowls to incorporate all ingredients.
- 9×13 inch Baking Pan: This size is ideal for creating a layered effect and ensuring even baking of the Marbled Cookie Brownie.
- Parchment Paper or Non-Stick Spray: To prevent sticking and ensure easy removal of brownies from the pan.
- Toothpick or Skewer: For creating the marbled effect by swirling through the batter layers and testing doneness.
- Cooling Rack: Allows air to circulate the brownies, cooling them evenly and preventing sogginess.
Marbled Cookie Brownie Recipe: step by step guide
Preparing the Cookie Dough
- Preheat your oven to 350°F (175°C), line a 9×13 inch baking pan with parchment paper, or lightly grease it with non-stick spray.
- In a large mixing bowl, cream together 1 cup of softened unsalted butter with 3/4 cup granulated sugar and 3/4 cup packed brown sugar until smooth and fluffy.
- Beat in 1 teaspoon vanilla extract and 2 large eggs, one at a time, ensuring each is well incorporated.
- Whisk together 2 1/4 cups all-purpose flour, 1 teaspoon baking soda, and 1/2 teaspoon salt in a separate bowl. Gradually add this to the wet ingredients, mixing until just combined.
- Fold in 1 cup semi-sweet chocolate chips with a spatula. Set aside.
Making the Brownie Batter
- Mix 1/2 cup melted unsalted butter in another bowl with 1 cup granulated sugar.
- Add 2 large eggs and 1 teaspoon vanilla extract, blending well after each addition.
- Sift together 1/3 cup unsweetened cocoa powder, 1/2 cup all-purpose flour, 1/4 teaspoon baking powder, and 1/4 teaspoon salt. Gradually incorporate into the wet mixture until smooth.
- Stir in 1/2 cup chopped walnuts if desired.
Creating the Marbled Effect
- Spread the brownie batter evenly in the prepared baking pan.
- Dollop the cookie dough over the brownie layer in spoonfuls. Use a knife or skewer to gently swirl the two batters together, creating a marbled effect.
- Bake in the preheated oven for 35 minutes or until a toothpick inserted into the center is clean.
- Allow to cool in the pan for 10 minutes before transferring to a wire rack to cool completely. This step-by-step guide will help you achieve the perfect Marbled Cookie Brownie, blending brownies and cookies’ rich flavors and textures into one decadent dessert.
Perfect Pairings for Marbled Cookie Brownie Recipe
- Ice Cream: A scoop of vanilla ice cream on top of a warm Marbled Cookie Brownie Recipe creates a classic combination, allowing the cold, creamy texture to contrast beautifully with the warm, gooey dessert.
- Fresh Berries: For a refreshing twist, serve your brownie with fresh strawberries, raspberries, or blueberries. The berries’ acidity and sweetness cut through the brownie’s richness.
- Whipped Cream: A dollop of lightly sweetened whipped cream can add a light, airy texture and a slight sweetness that complements the dense, chocolatey brownie.
- Coffee: Enjoy your Marbled Cookie Brownie Recipe with a hot cup of coffee. The bitterness of the coffee balances the sweetness of the brownie, making for a satisfying adult dessert pairing.
- Nutella® or Peanut Butter: For an extra indulgent treat, spread a thin layer of Nutella® or peanut butter over your brownie. The nutty flavors enhance the chocolate and cookie dough elements.
- Caramel Sauce: Drizzling caramel sauce over the brownie adds a gooey, sweet layer that pairs perfectly with the chocolate and cookie flavors.
- Port Wine: For an elegant dessert pairing, serve your Marbled Cookie Brownie Recipe with a glass of Port wine. The wine’s rich, sweet character is a great match for the chocolatey depth of the brownie.
Mastering Marbled Cookie Brownie Recipe: Insider Tips and Tricks
- Temperature Precision: Ensure your oven is accurately calibrated. An oven thermometer can help verify that the temperature matches what’s set, as baking times may vary with temperature fluctuations.
- Room-Temperature Ingredients: For a smoother mix and better texture, use room-temperature butter and eggs for both the cookie and brownie batters.
- Swirling Technique: Use a butter knife or skewer to swirl the batters. Don’t overmix; a few figure-eight motions should be enough to create a beautiful marbled effect without blending the two into a single batter.
- Baking Pan Prep: Lining your pan with parchment paper extends beyond the edges. This acts as a sling, making lifting the entire brownie out easier for neat cutting and serving.
- Test for Doneness: Check for doneness with a toothpick. The brownies are ready if it comes out with a few moist crumbs (not wet batter). After being removed from the oven, they will continue to cook slightly from residual heat.
- Cooling Time: Allow ample cooling time before slicing the brownies to ensure they set properly and don’t fall apart. It works best to cool them in the pan for about 10 minutes, then transfer them to a wire rack to cool completely.
- Ingredient Quality: High-quality cocoa powder and chocolate chips make a noticeable difference in the depth of chocolate flavor.
- Storage for Freshness: If you’re not serving them immediately, store the brownies in an airtight container to keep them moist and chewy.
What nutritional benefits does the Marbled Cookie Brownie Offer?
- Energy Boost: With its content of carbohydrates and sugars, a serving provides a quick energy boost, perfect for a midday pick-me-up or post-workout treat.
- Protein: Eggs and nuts, if added, contribute protein, which is essential for muscle repair and growth.
- Dietary Fiber: Using whole wheat flour instead of all-purpose flour or adding nuts increases the dietary fiber content, which is beneficial for digestive health.
- Antioxidants: Cocoa powder contains antioxidants that may contribute to overall health by neutralizing free radicals in the body.
- Customizable for Nutritional Needs: You can tailor the recipe to meet specific dietary requirements by incorporating ingredient substitutions, such as gluten-free flours or plant-based alternatives for butter and eggs.
- Mood Enhancer: Chocolate is known for its mood-enhancing properties, potentially giving you a slight lift in spirits with every bite with Marbled Cookie Brownie Recipe.
How can you preserve leftovers of Marbled Cookie Brownie?
- Cool Completely: Before storing, ensure the brownies have cooled down completely at room temperature to prevent condensation inside the container, which could make them soggy.
- Airtight Container: Transfer the cooled brownies to an airtight container. Keeping air out is key to maintaining freshness.
- Separate Layers with Parchment Paper: If stacking brownies, place a sheet of parchment paper between layers to prevent them from sticking together.
- Room Temperature Storage: For optimal taste and texture, store the airtight container at room temperature for up to 3 days.
- Refrigerate for Longer Freshness: For longer storage, place the container in the refrigerator. This can extend their freshness up to a week. Allow brownies to come to room temperature before serving for the best flavor.
- Freezing for Long-Term Storage: Wrap individual brownie pieces tightly in plastic wrap and then place them in a ziplock freezer bag. Marbled Cookie Brownies can be frozen for up to 3 months. Thaw overnight at room temperature or in the refrigerator before enjoying.
- Reheat for Best Experience: Briefly warming brownies in the microwave for a few seconds can rejuvenate their texture and flavor, especially if they have been refrigerated or frozen.
Conclusion
Embarking on the adventure of creating Marbled Cookie Brownies brings a delightful fusion of flavors and textures into your kitchen.
This recipe not only stands as a testament to culinary creativity but also offers the flexibility to cater to various dietary preferences and taste buds.
With each step, from choosing ingredients to the final bake, you’re crafting more than just a dessert; you’re creating an experience.
FAQs
Q: Can I use boxed brownie mix and cookie dough for this recipe?
A: Absolutely! For those short on time or looking for a simpler option, boxed brownie mix and pre-made cookie dough can be used as substitutes. However, for the best flavor, following the homemade recipe is recommended.
Q: Is it possible to make this recipe gluten-free?
A: Yes, you can make Marbled Cookie Brownies gluten-free by using gluten-free flour blends for both the brownie and cookie components. Ensure all other ingredients are certified gluten-free as well.
Q: How long do Marbled Cookie Brownies last?
A: When stored properly in an airtight container, they can last up to 5 days at room temperature or up to a week in the refrigerator. They can also be frozen for up to 3 months.
Q: Can I add nuts or other mix-ins?
A: Definitely! Feel free to customize your Marbled Cookie Brownie by adding nuts, chocolate chips, or even swirls of caramel or peanut butter into the batter before baking.
Q: Are Marbled Cookie Brownies suitable for vegans?
A: The standard recipe contains eggs and dairy, but it can be adapted for vegans by using plant-based substitutes for butter, eggs, and milk. Ensure your chocolate and sugar are also vegan-friendly.

Hi, I’m Liza Jensen, your culinary companion here at Recipe by Liza. 🍳🥗Cooking has always been my passion—I find joy in every whisk, every sizzle, and every aromatic spice. As a home cook and recipe developer, I’ve explored flavors from around the world, creating dishes that warm hearts and tantalize taste buds.Join me on this flavorful journey! Let’s swap kitchen stories, share tips, and celebrate the magic of food together.

